SSL Origin Install = Massive Upgrade
In a previous post we told the story of purchasing our new Solid State Logic ORIGIN 32 console. Now we’d like to share details of installing the console and the many additional major studio upgrades that came with it.
First Moves
It was the end of July when we took possession of the board and we were in the middle of a busy period at the studio so we decided to give ourselves plenty of time to prepare for the install. We chose September 16th to shutdown the studio for eight days to complete the installation and do a bit of troubleshooting before the first session the following Saturday - a friend’s band who knew that the “learning curve” might be in effect and would be understanding if we ran into technical difficulties.
Jason had downloaded the Origin user’s guide some time ago and was already vaguely familiar with its layout but it was time for a deep dive on the intricacies of its design and how the console would fit into our current setup. Walking past the SSL sitting in our lounge under a packing blanket was like a form of slow torture as the days slowly crept by until suddenly it was install day!
Out With The Old
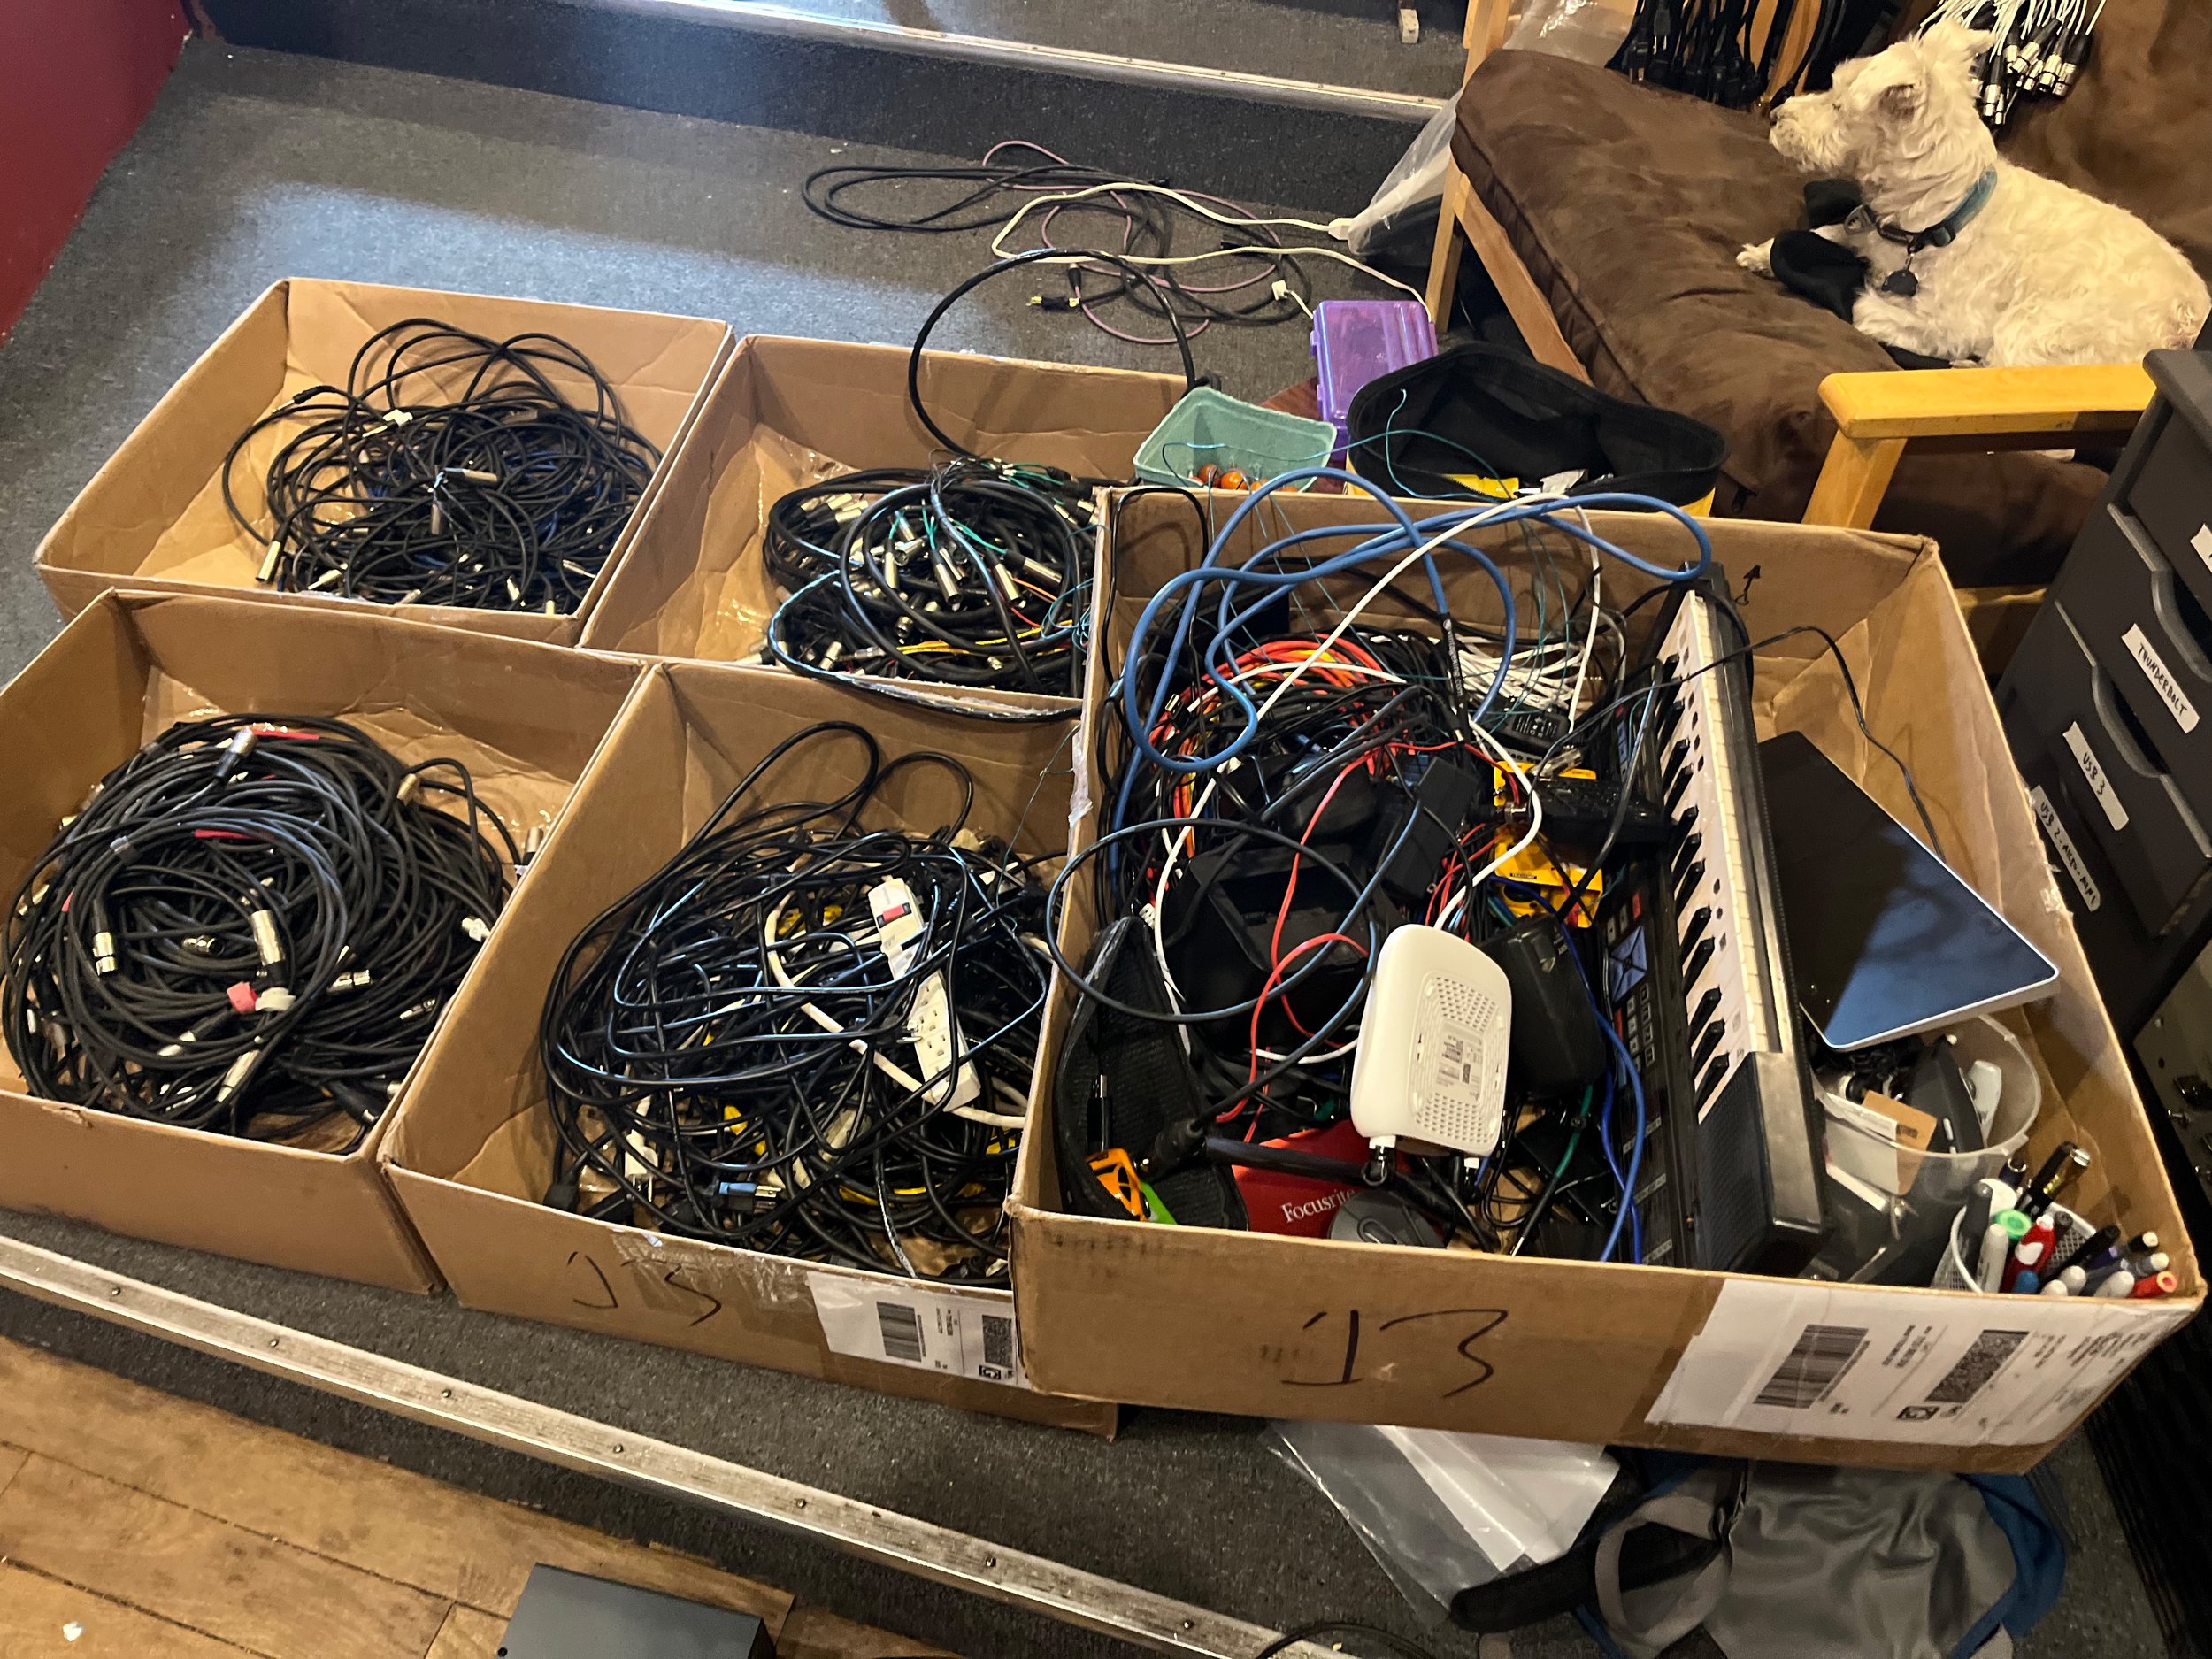
The first step was to disconnect all of our existing equipment. We started by disconnecting all of our outboard preamps and carefully labelling their connectors to help us know where the other ends were connected to the live room XLR patch panel. Once completed we proceeded to disconnect all the remaining gear and pull ALL of the cabling from the racks and organize them by type and length.

“Prior Planning Prevents P*ss Poor Performance”
Ronald “Ronnie-G” Gallant
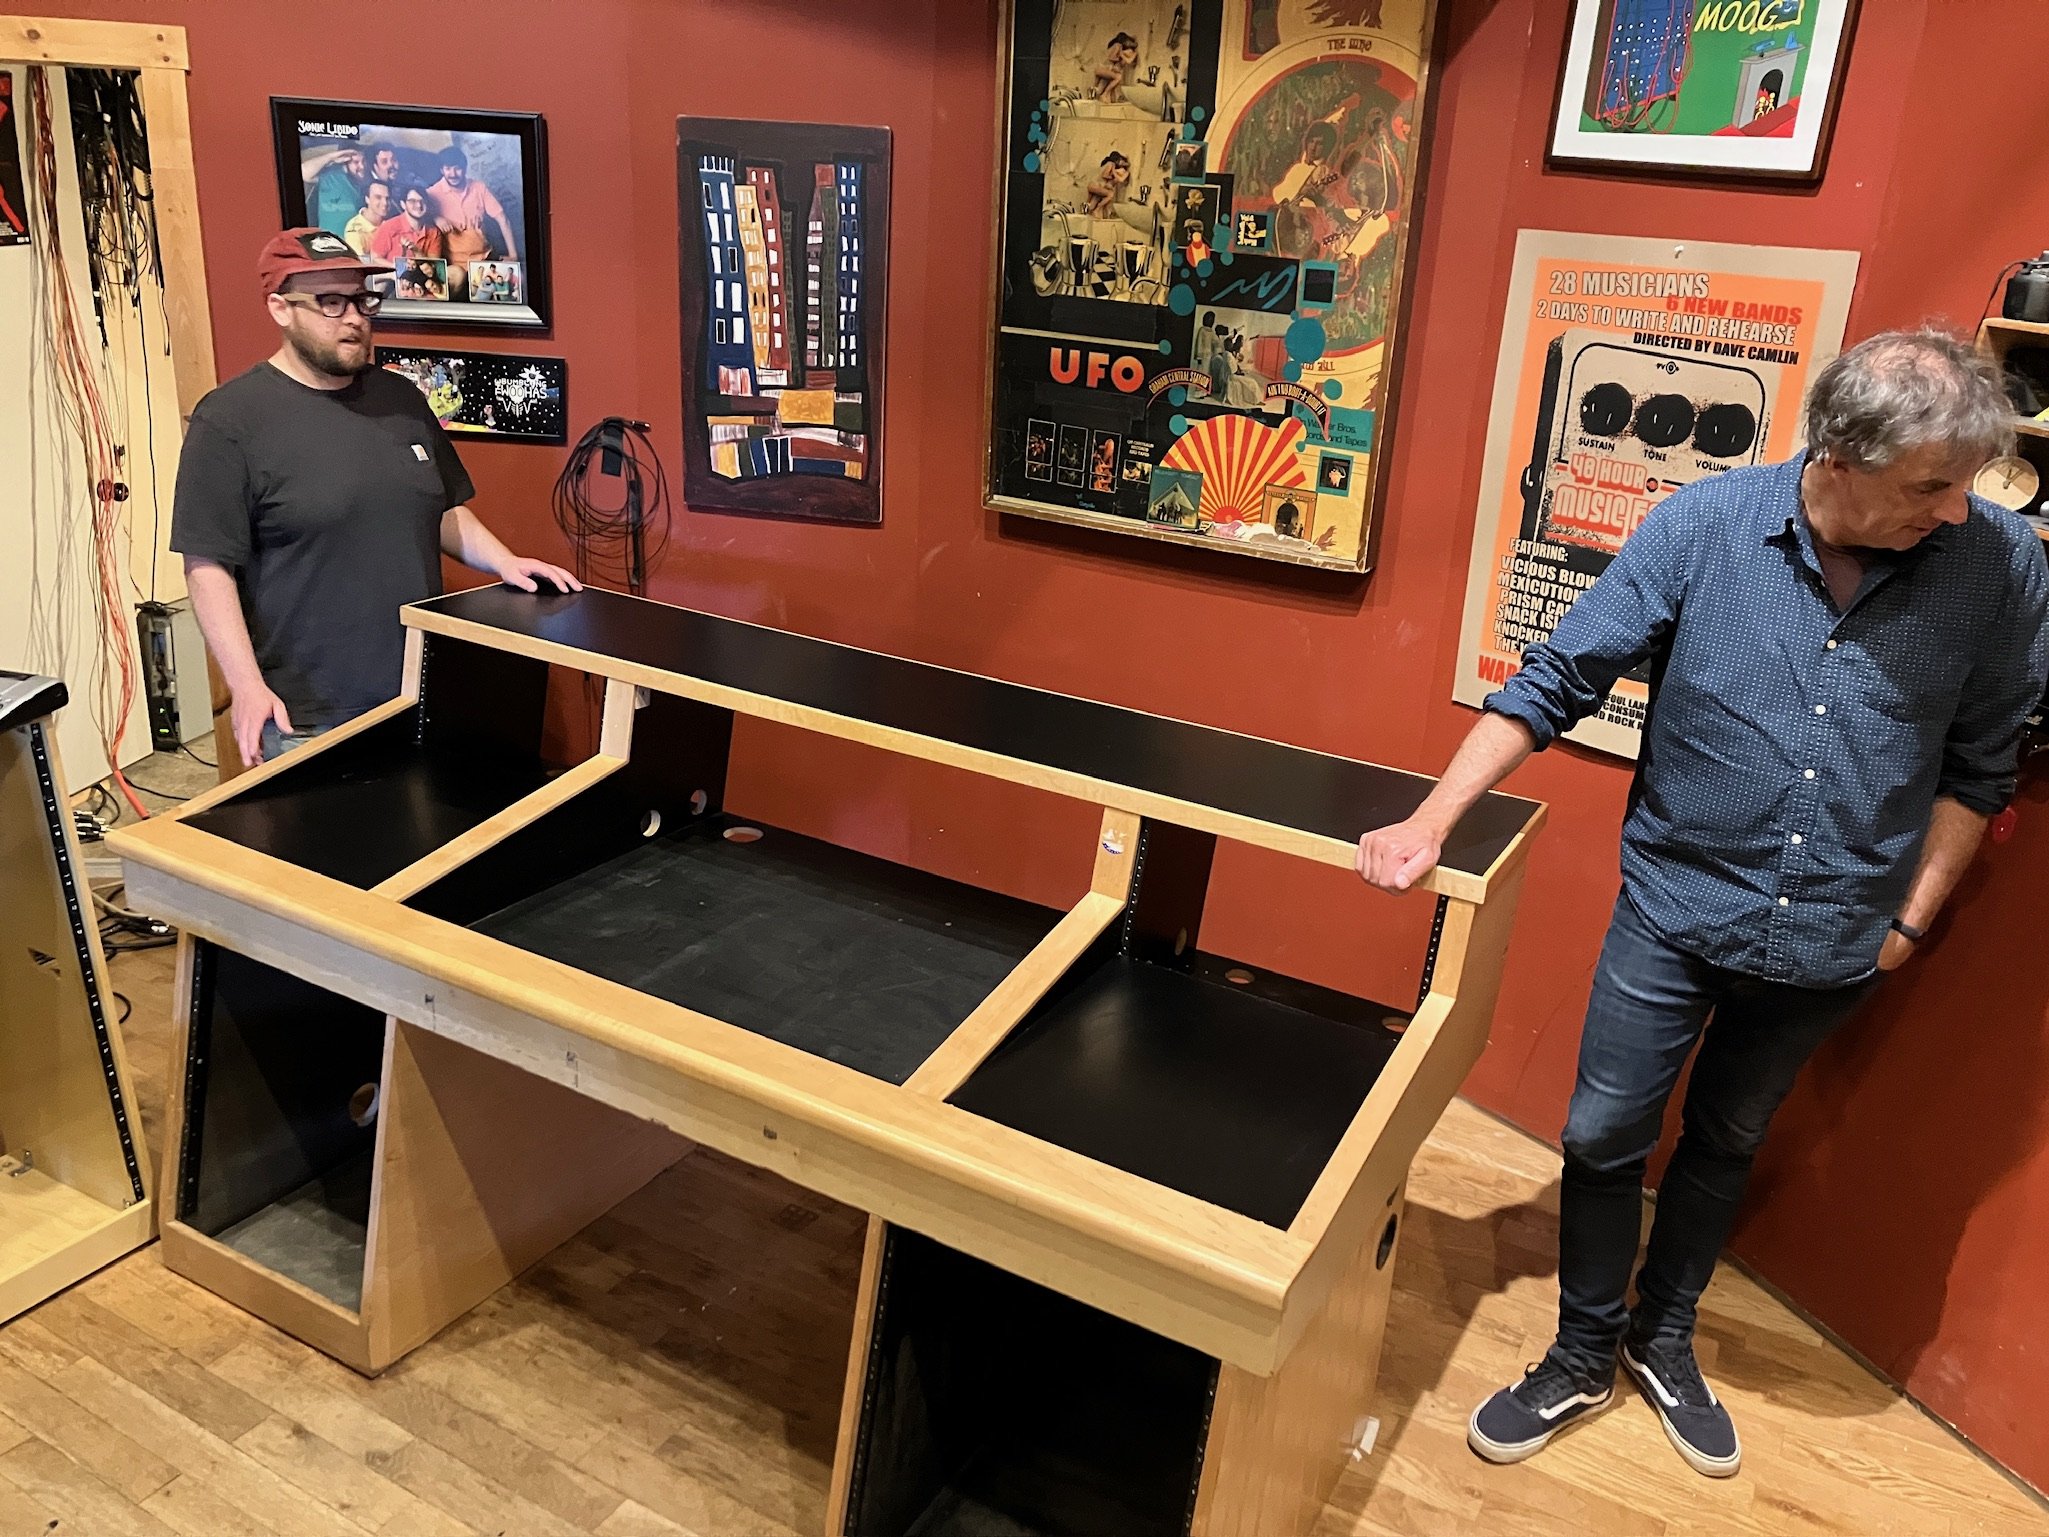
We put our Toft ATB24 console up for sale along with the custom built wooden desk and gear racks so we would need new equipment racks. It turned out that the new console was virtually the same dimensions as our wooden desk which meant we didn’t need to move the “sweet spot” listening position. There were so many aspects to be considered in designing our new system - how to organize the outboard gear in the racks, making sure power was distributed properly by adding up the total wattage of all the gear and distributing it properly, ensuring that the racks would physically fit in the space available etc. It was an overwhelming proposition.
Luckily, early in the planning process we discovered a series of incredibly helpful YouTube videos by Terry Peters at Forest Hill Studios in Abingdon, MD. In these posts about preparing to install a SSL Origin console, Terry brings to light a huge number of potential issues surrounding the installation process. We cannot express how grateful we are for the effort Terry put into these videos, he has done the Origin community a tremendous service. (Terry even graciously took a phone call for some advice later in the process - thank you!)
In these videos, Terry drives home the following fact - to be successful you need to know in advance:
a) The quantity and type (XLR, TRS, DB25 and male or female) of every single connector on the rear of every piece of equipment
b) The length and type of connector for each of the 864 connections to the patchbay
c) The length and type of connector for cables connecting the gear to the patchbay itself
Now add in the fact that we hoped to reuse a large amount of our existing cabling by soldering new connectors plus the need to purchase many new snakes and it quickly became impossible to think about all at once. The only way to keep this all straight was with a spreadsheet (multiple spreadsheets in fact) The final spreadsheet had upwards of 12,000 cels!
Making Connections
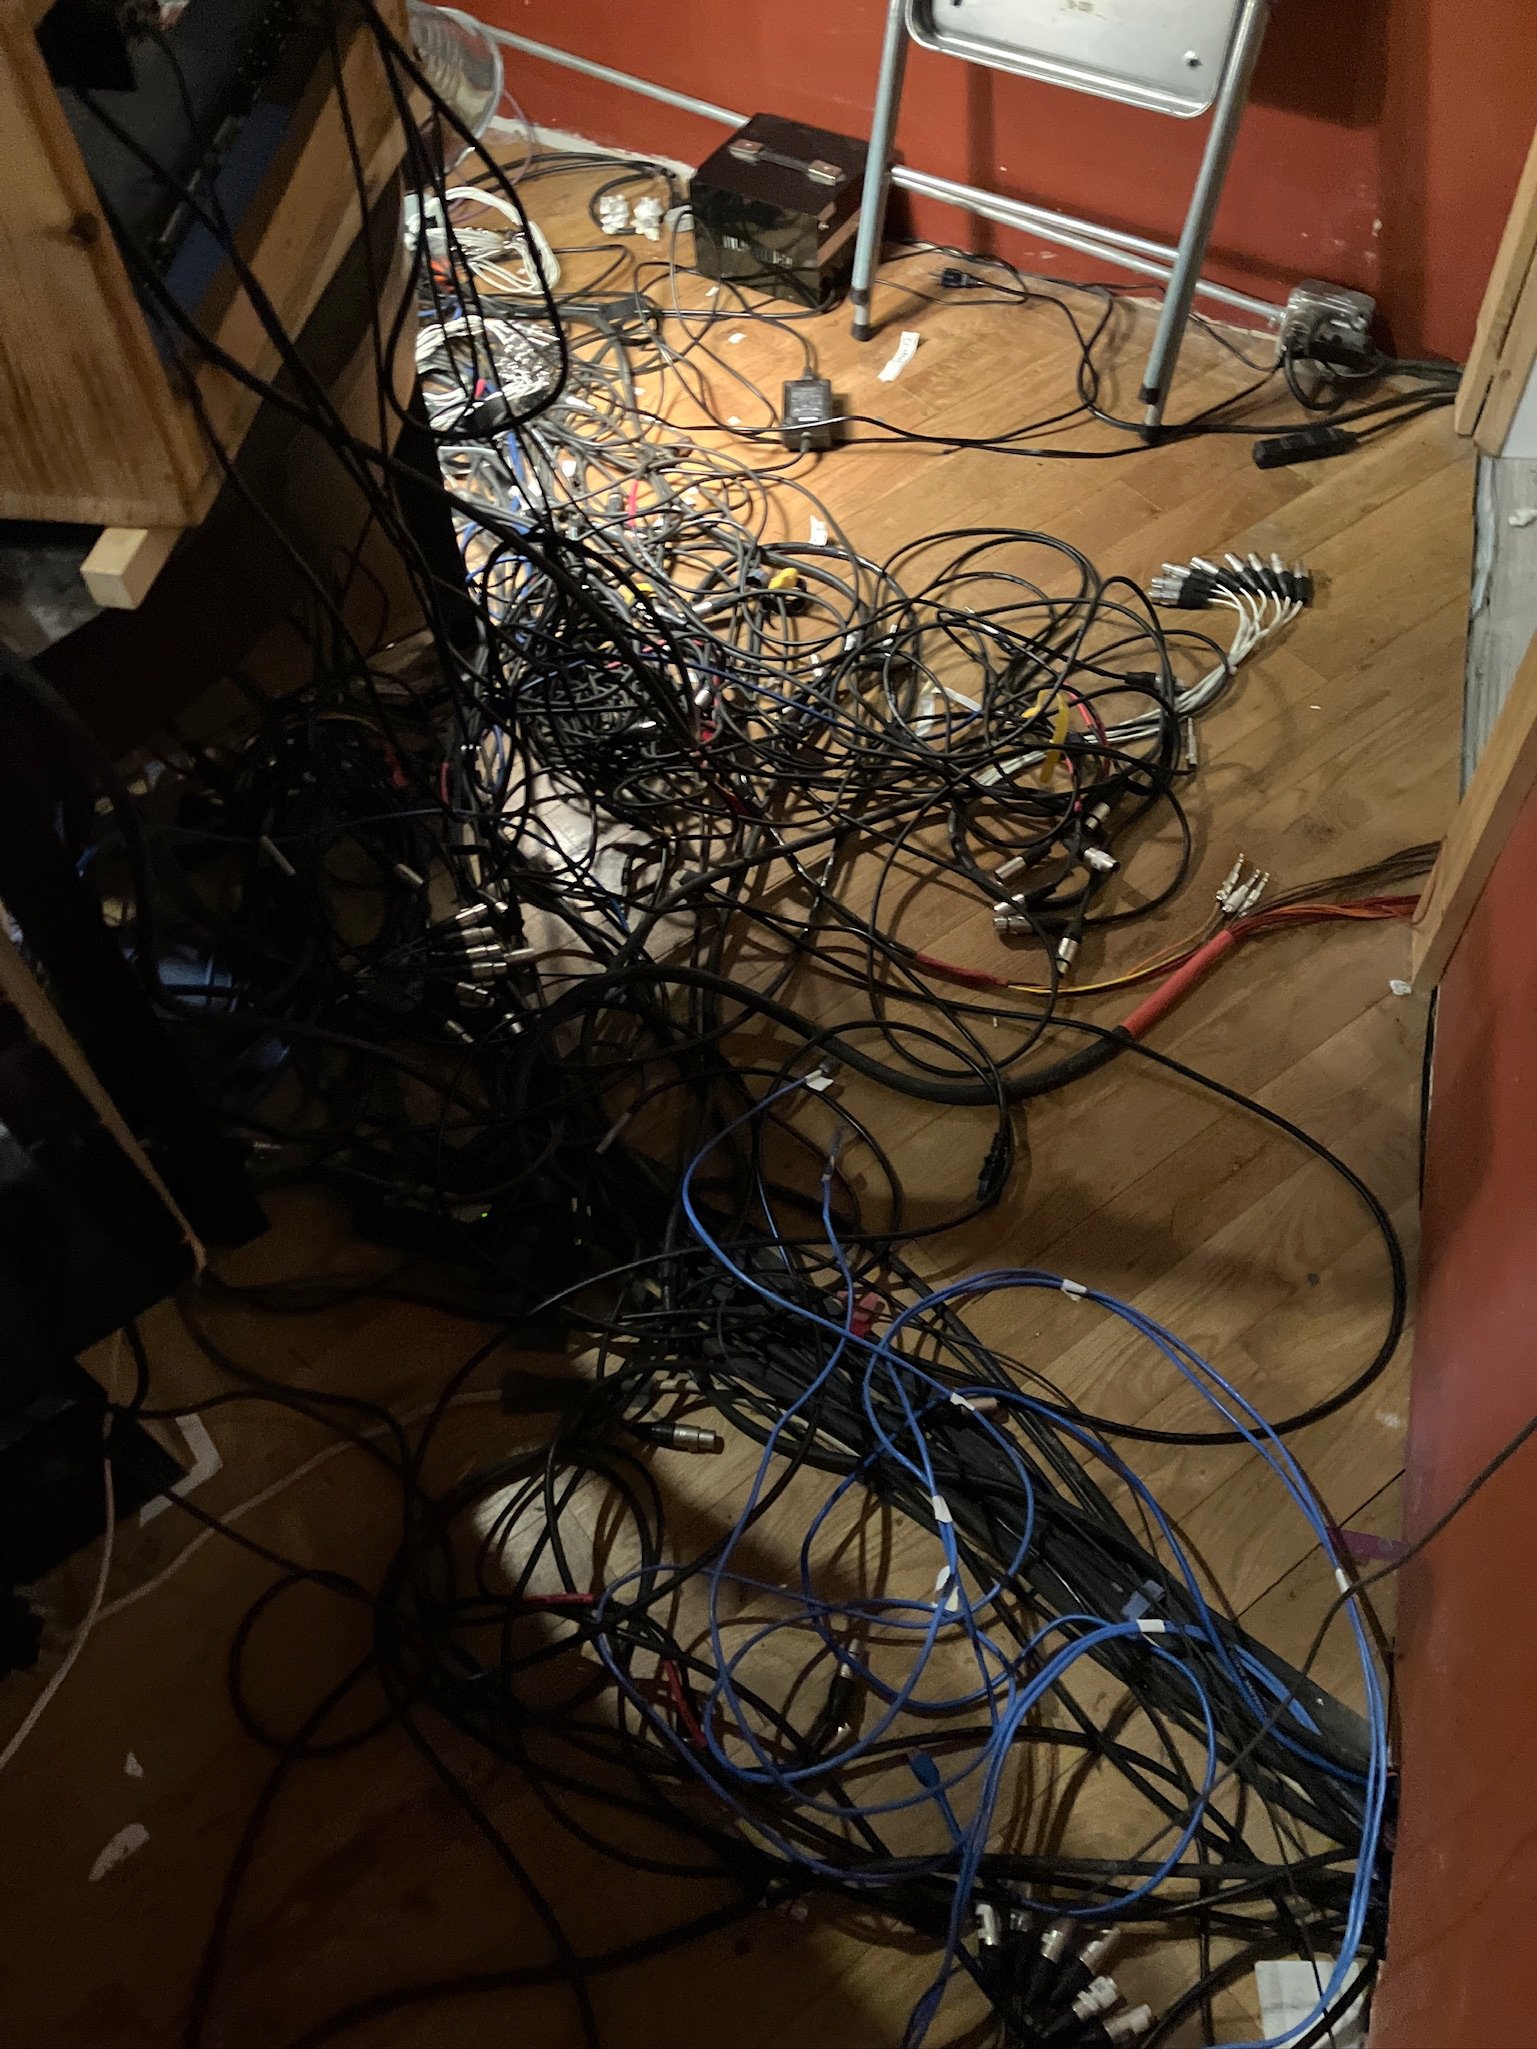
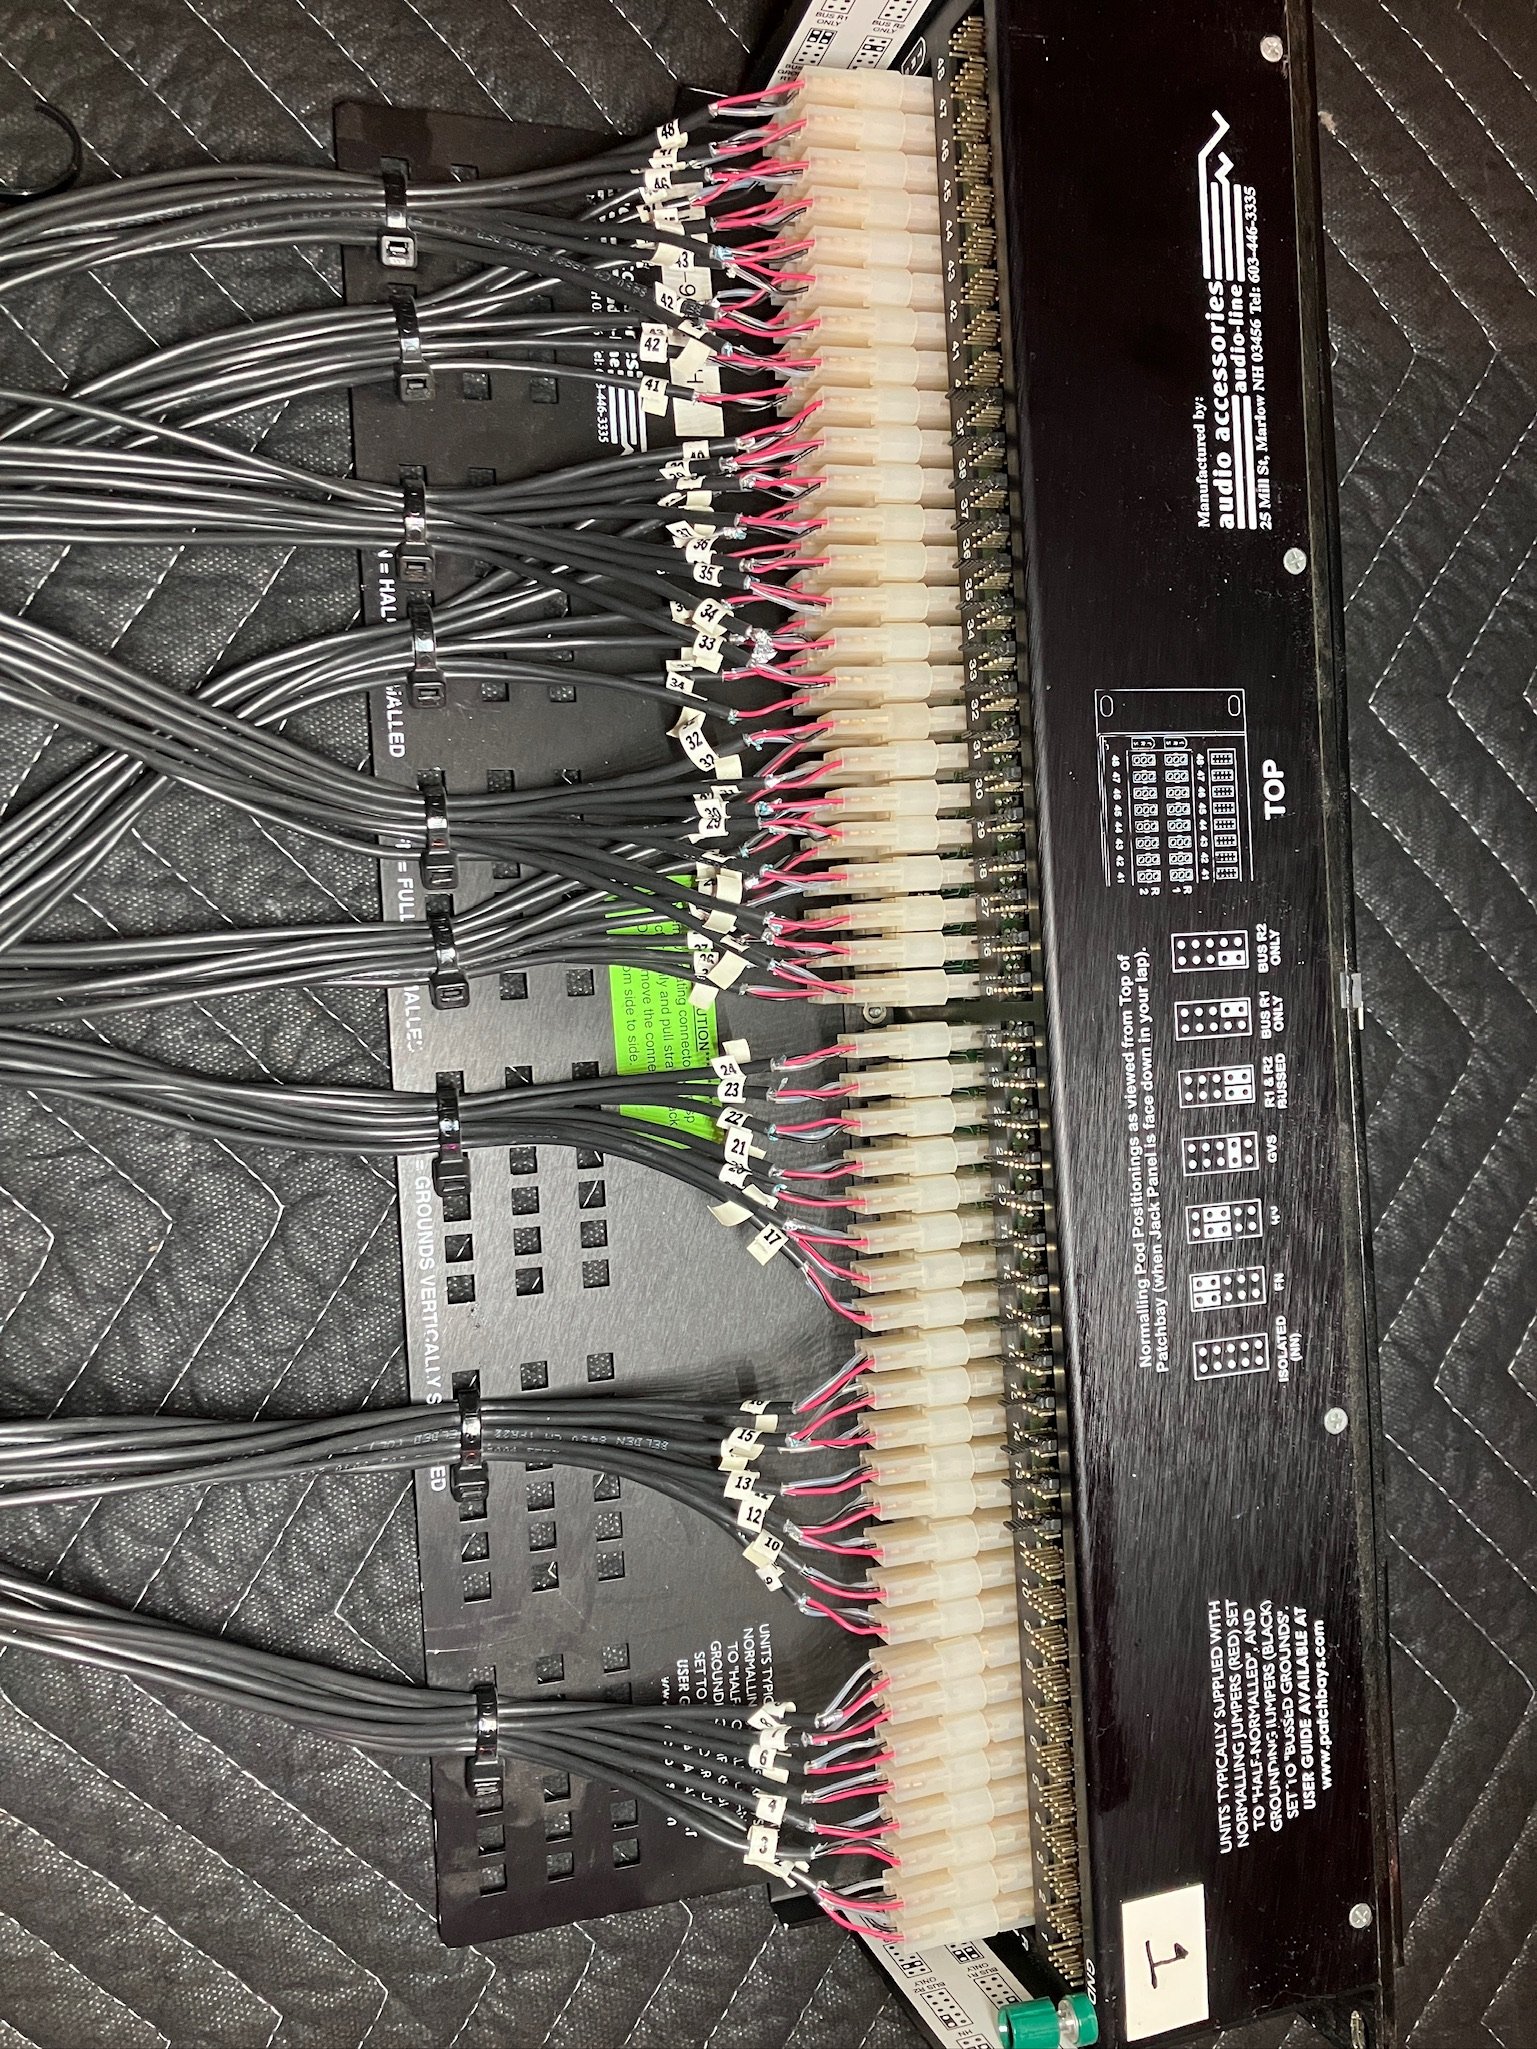
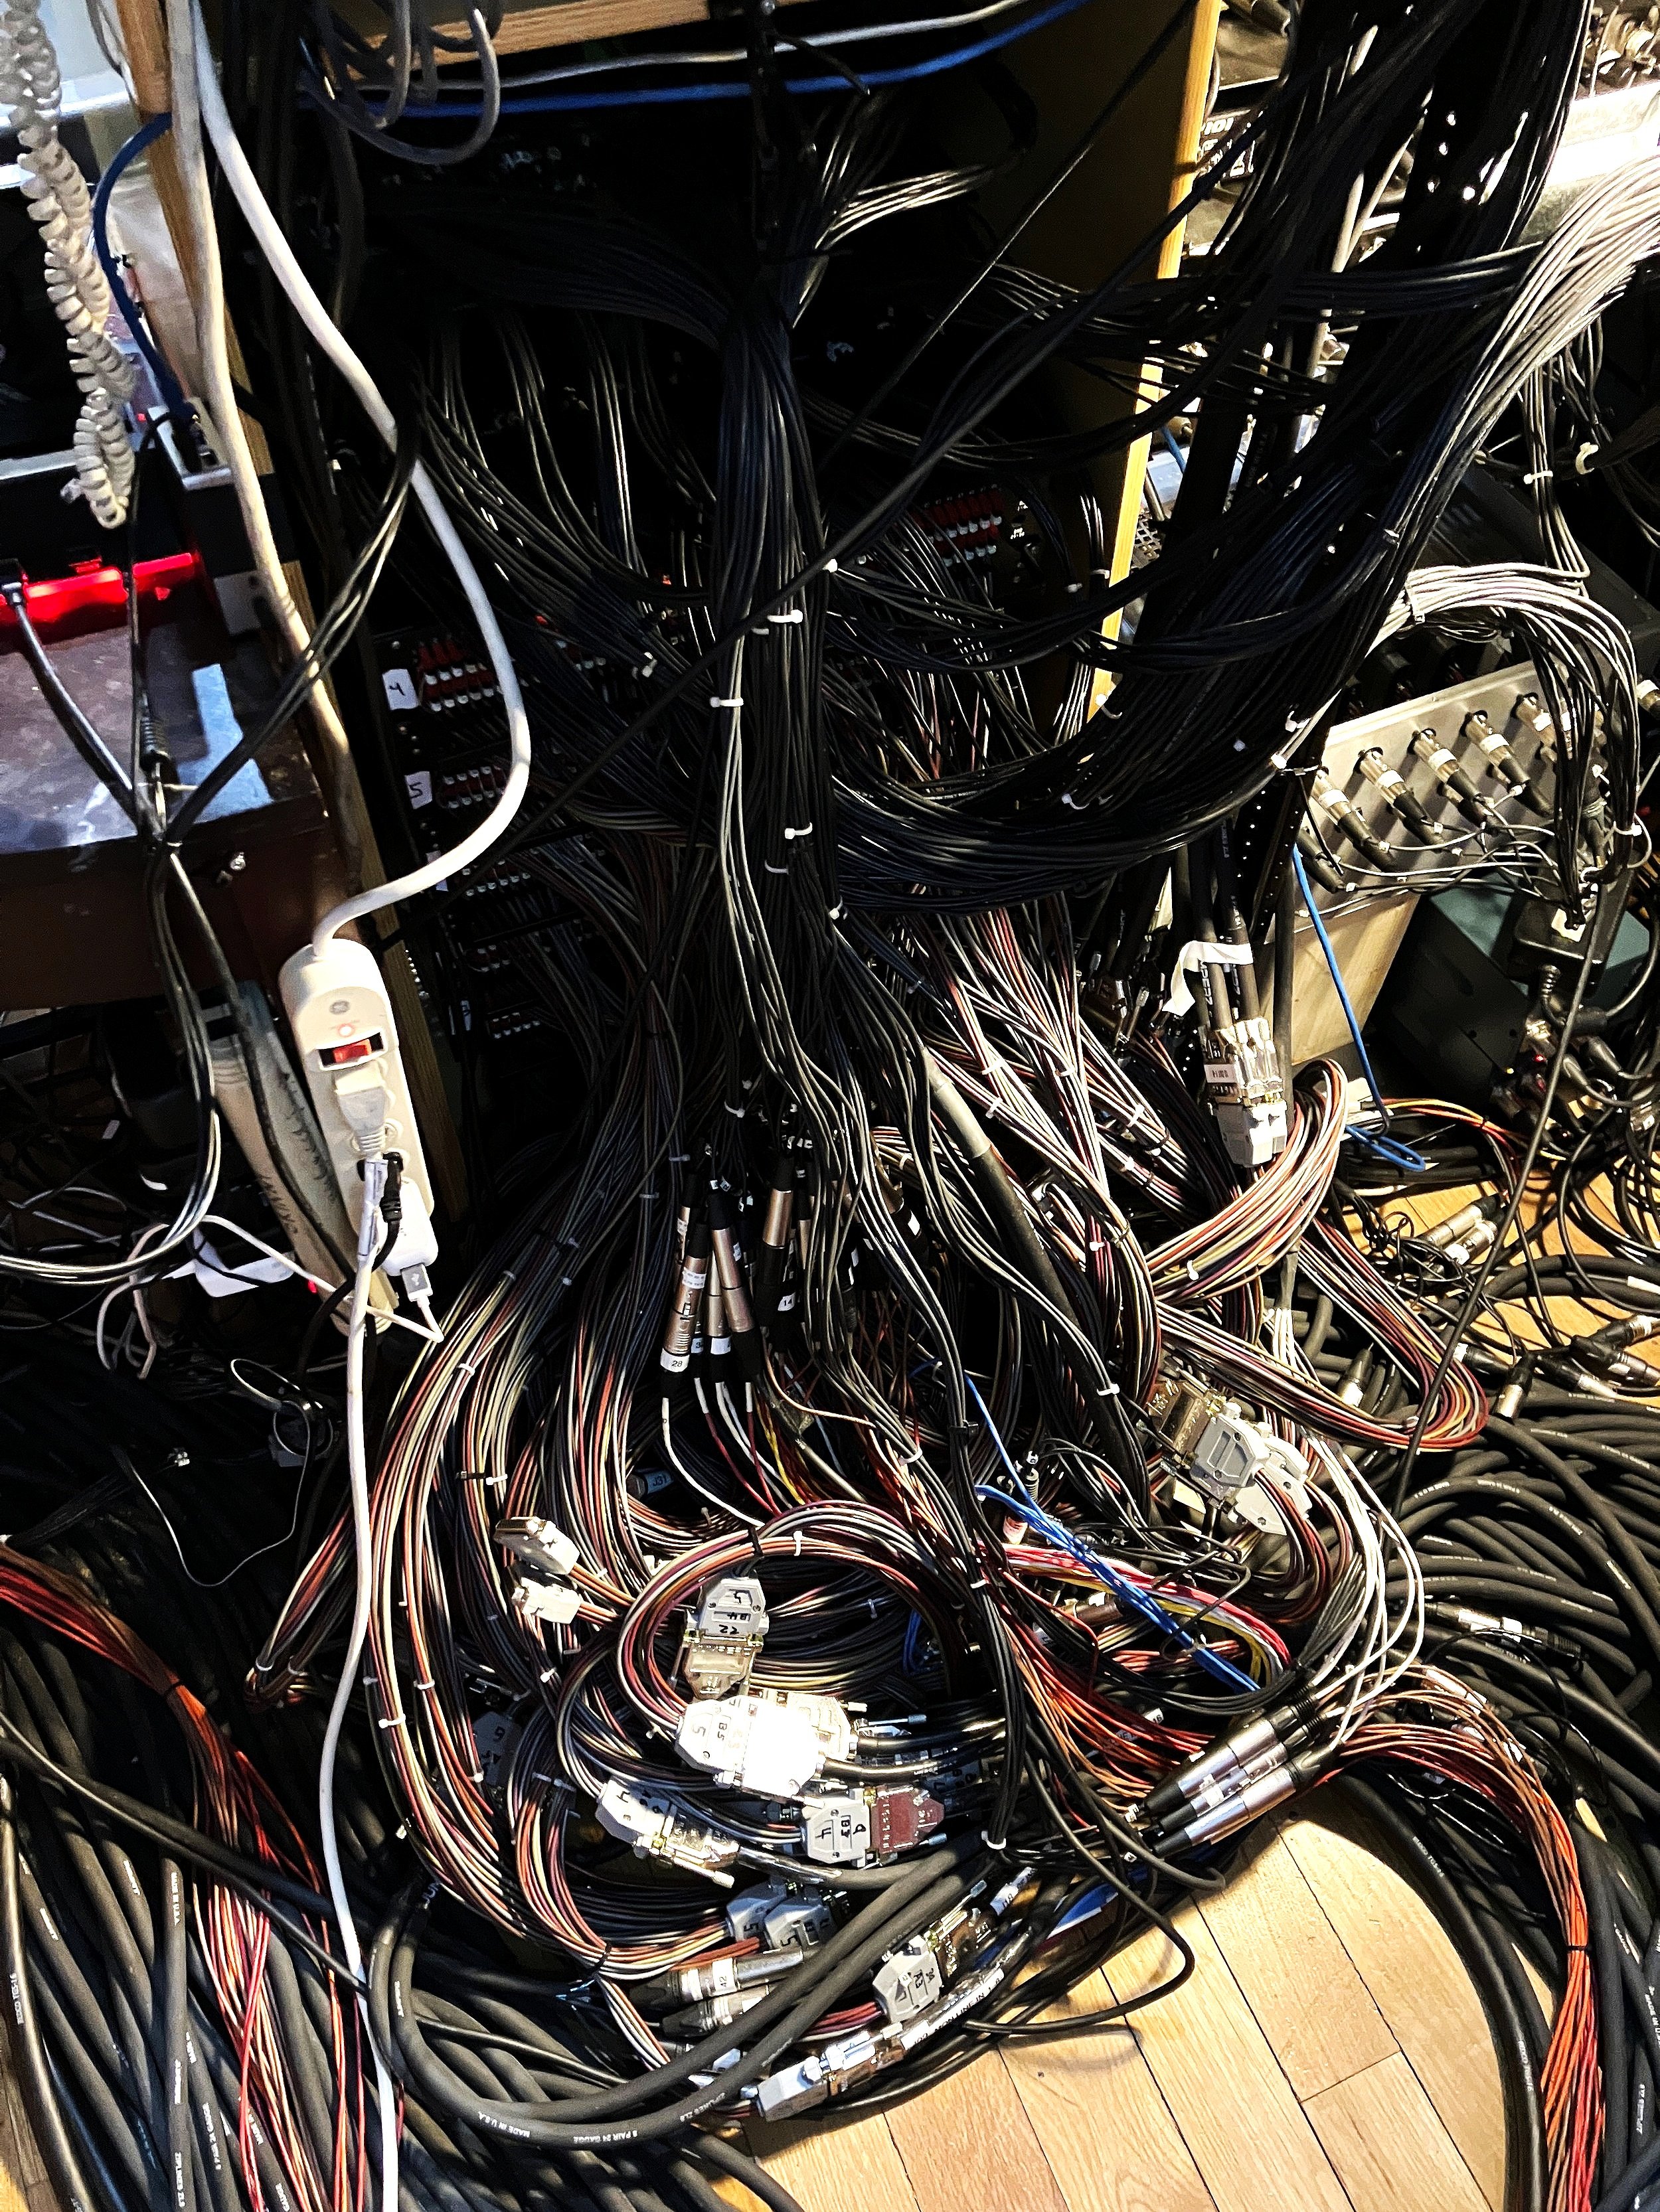
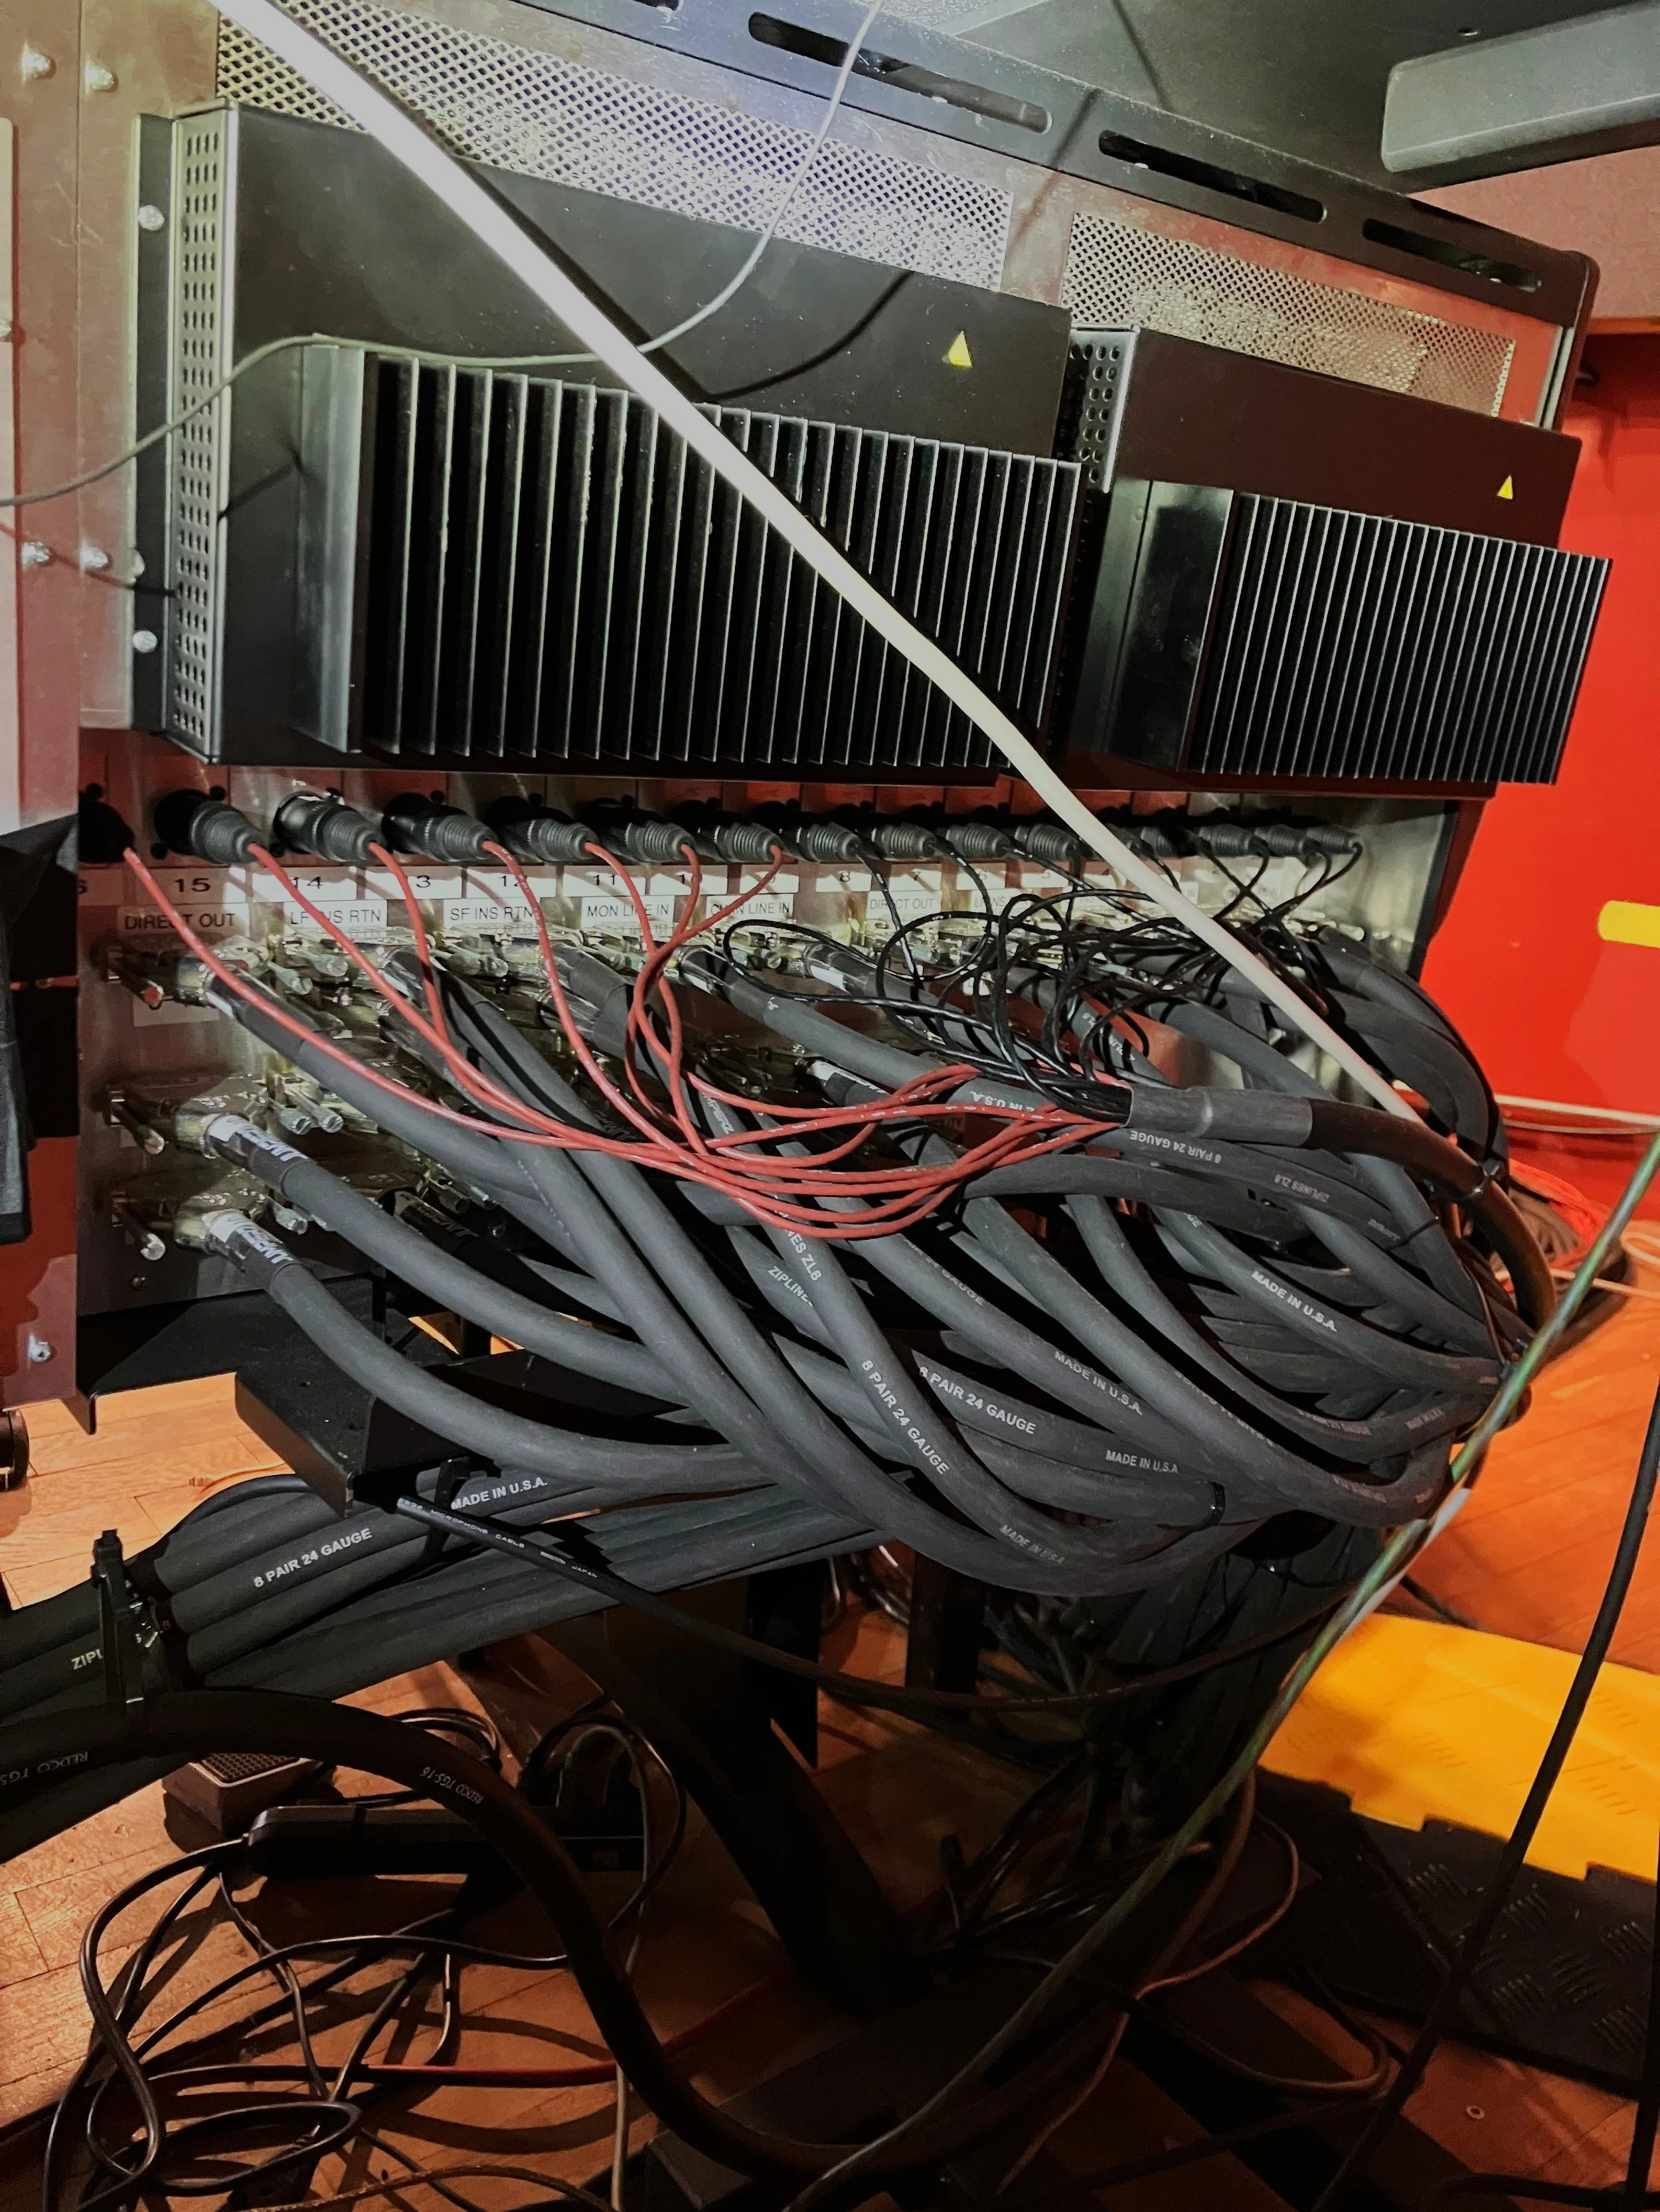
Along with the new mixing desk, we also planned to completely rewire our connections from the live room to the patchbay in the control room. Previously, the XLR jacks on the patch panel in the live room were wired directly to the inputs of our 47 channels of external preamps. For our new setup the XLR jacks in the live room would simply be numbered sequentially and their “tie lines” would be connected to the top row of our first patchbay. The first 32 patchbay inputs are “normalled” to the bottom row - meaning any signal connected to “Tie Line #1” on the patchbay automatically passes to “SSL Mic Input #1” without the need for a connecting patch cable. There are several instances where signal automatically is passed to other gear by normalling in our patchbay setup. We ran several new Mogami quad-wire snakes and tested every last connection, ensuring that the signal path was solid, quiet and in phase.
We were very thankful to have had previous experience in designing a patchbay layout. Our previous system utilized four 96-point TT patchbays, but to accommodate the new console and it’s various connections we would require an additional FIVE patchbays for a total of 864 patch points! We once again enlisted the services of Bob Hickey - AKA “Mr. Patchbay” and ordered five patchbays, all featuring custom length cable snakes terminated in female DB25 connectors. Our previous patchbays featured three pin E3 connectors on the back, each with a custom length cable ending in either a male or female XLR, 1/4” TRS or a DB25 connector. This meant that we could “recycle” much of our previous cabling to fit our new setup but it required ordering several new cable bundles and retrofitting our existing cables with new ends to meet our current needs. This turned out to be a fairly complicated process, but thanks to an array of spreadsheets we were able to keep things straight (for the most part!)
We discovered a fantastic piece of software - “PatchCAD Pro” which was extremely helpful in designing a patchbay labeling system that worked for us. It took several revisions before we had useable, legible labels for all nine patchbays. PatchCAD has a couple thousand models of patchbay you can download templates for (all the brands use different spacing schemes so aligning the text with the holes can be a challenge). We had them printed on glossy cardstock and trimmed by Xpress Copy.
The SSL has 32 XLR panel jacks for the 32 Mic inputs, and all the remaining connections are via 25-pin D-SUB cables. Each cable carries eight balanced (three conductor) signals and there are 46 such connectors on the rear of the console - eight connectors for each “bucket” of eight channels plus many more for the console’s center section. This required purchasing over ten thousand dollars worth of 15’ and 20’ high quality D-Sub and XLR snakes, huge shoutout to our amazing Sweetwater rep Andy Rice for helping us get the final cost down substantially from list.
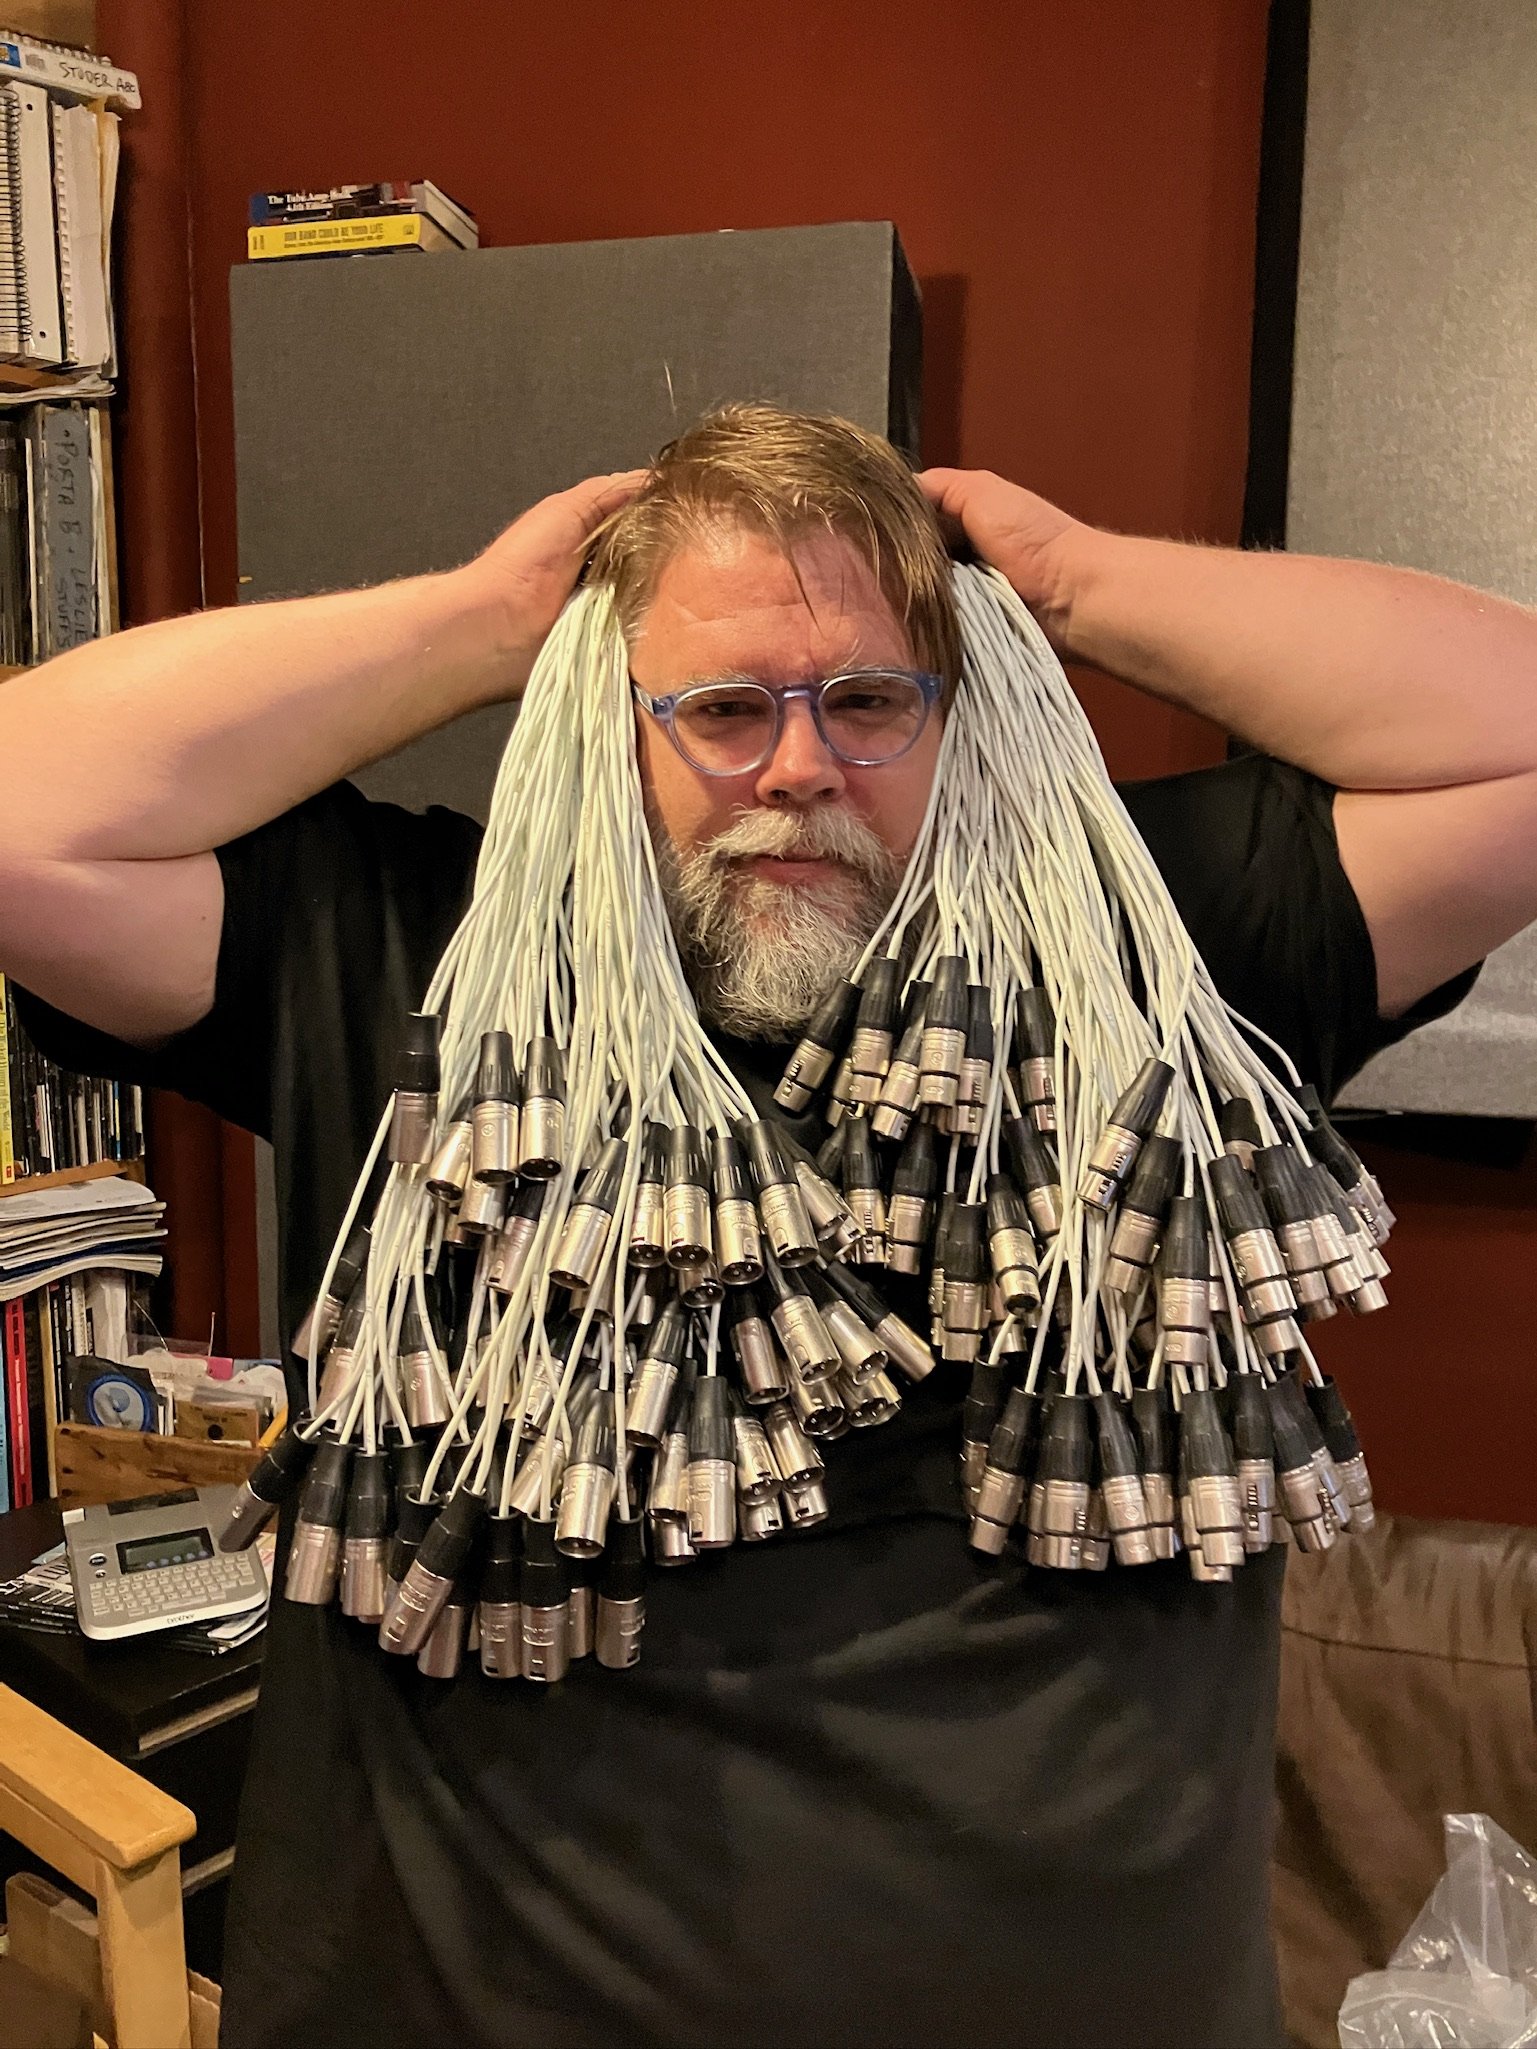
Acadia intern extraordinaire Will Moffat took on the daunting task of labelling both ends of each DB25 cable plus all of the connectors on the back of the Origin which took almost two full days to complete!
The accessories required for the install were substantial and we spent a great deal of time choosing the best options and then shopping around for deals etc. We were grateful to have several weeks lead time to gather all the esoteric and oddly specific items required. We hadn’t considered the fact that in order to record/monitor all 32 channels of the console we would need at least two more channels of conversion to send the mix bus to Protools stereo bus and then monitor the output of the print track. In the end we chose to buy a 16 channel Lynx Aurora(n) AD HDX converter to supplement our current 32 channel unit for a total of 48 channels. This opens up a host of routing and signal flow options - but it was a HUGE unexpected expense. Once again, Andy at Sweetwater helped us get the cost down.


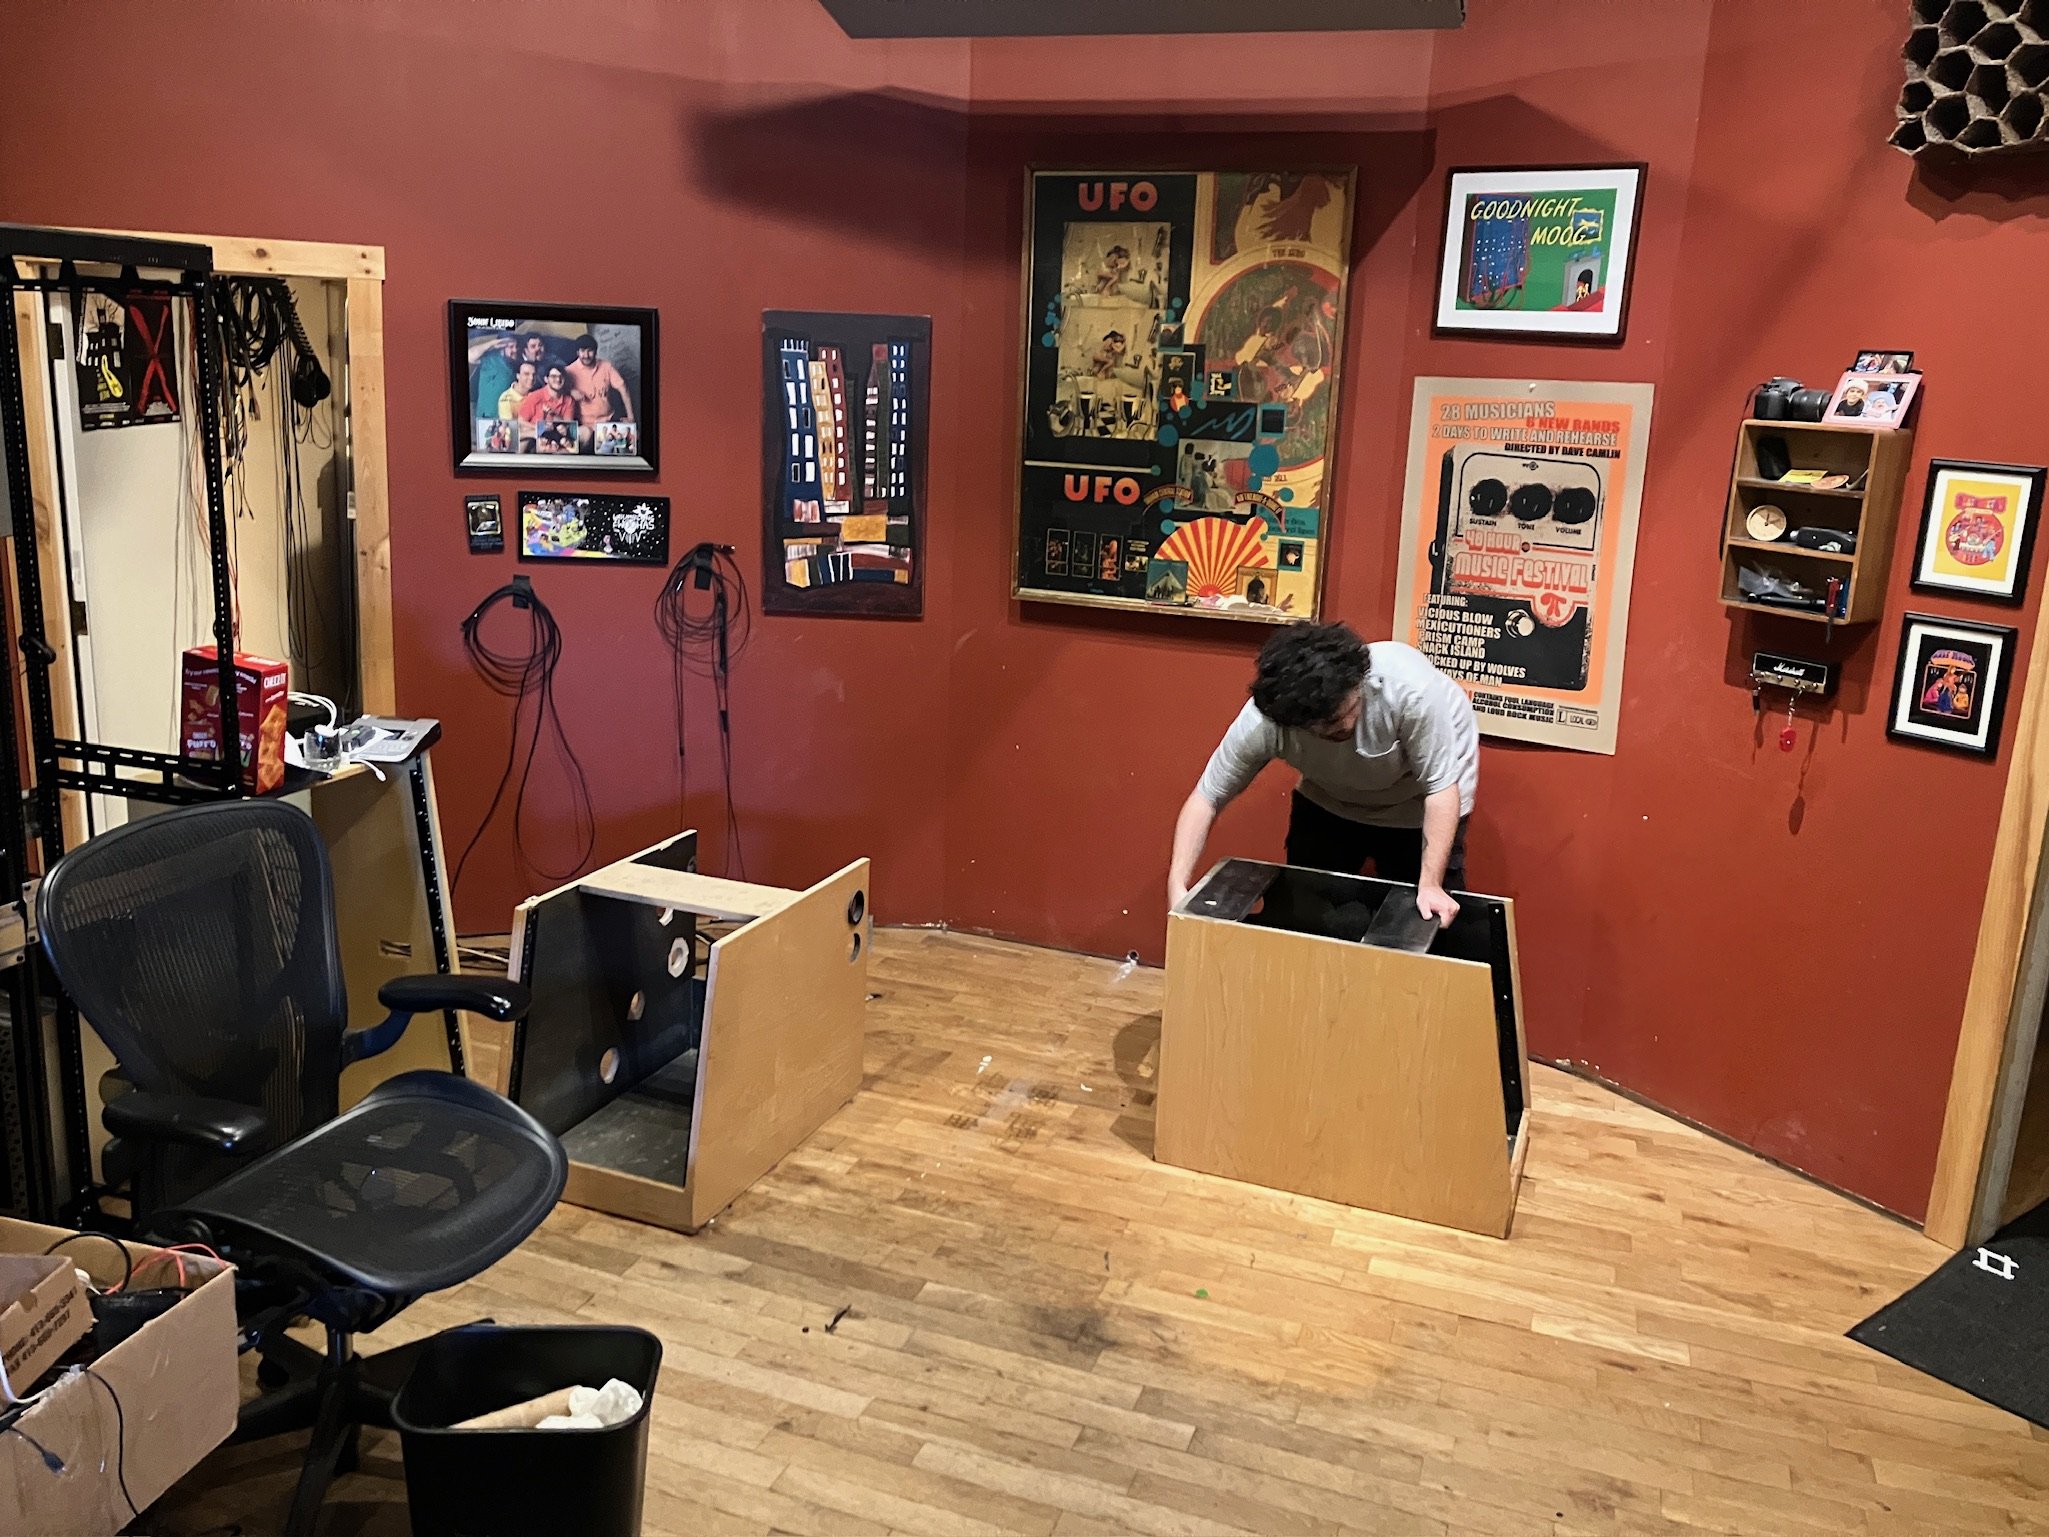
Cleaning House
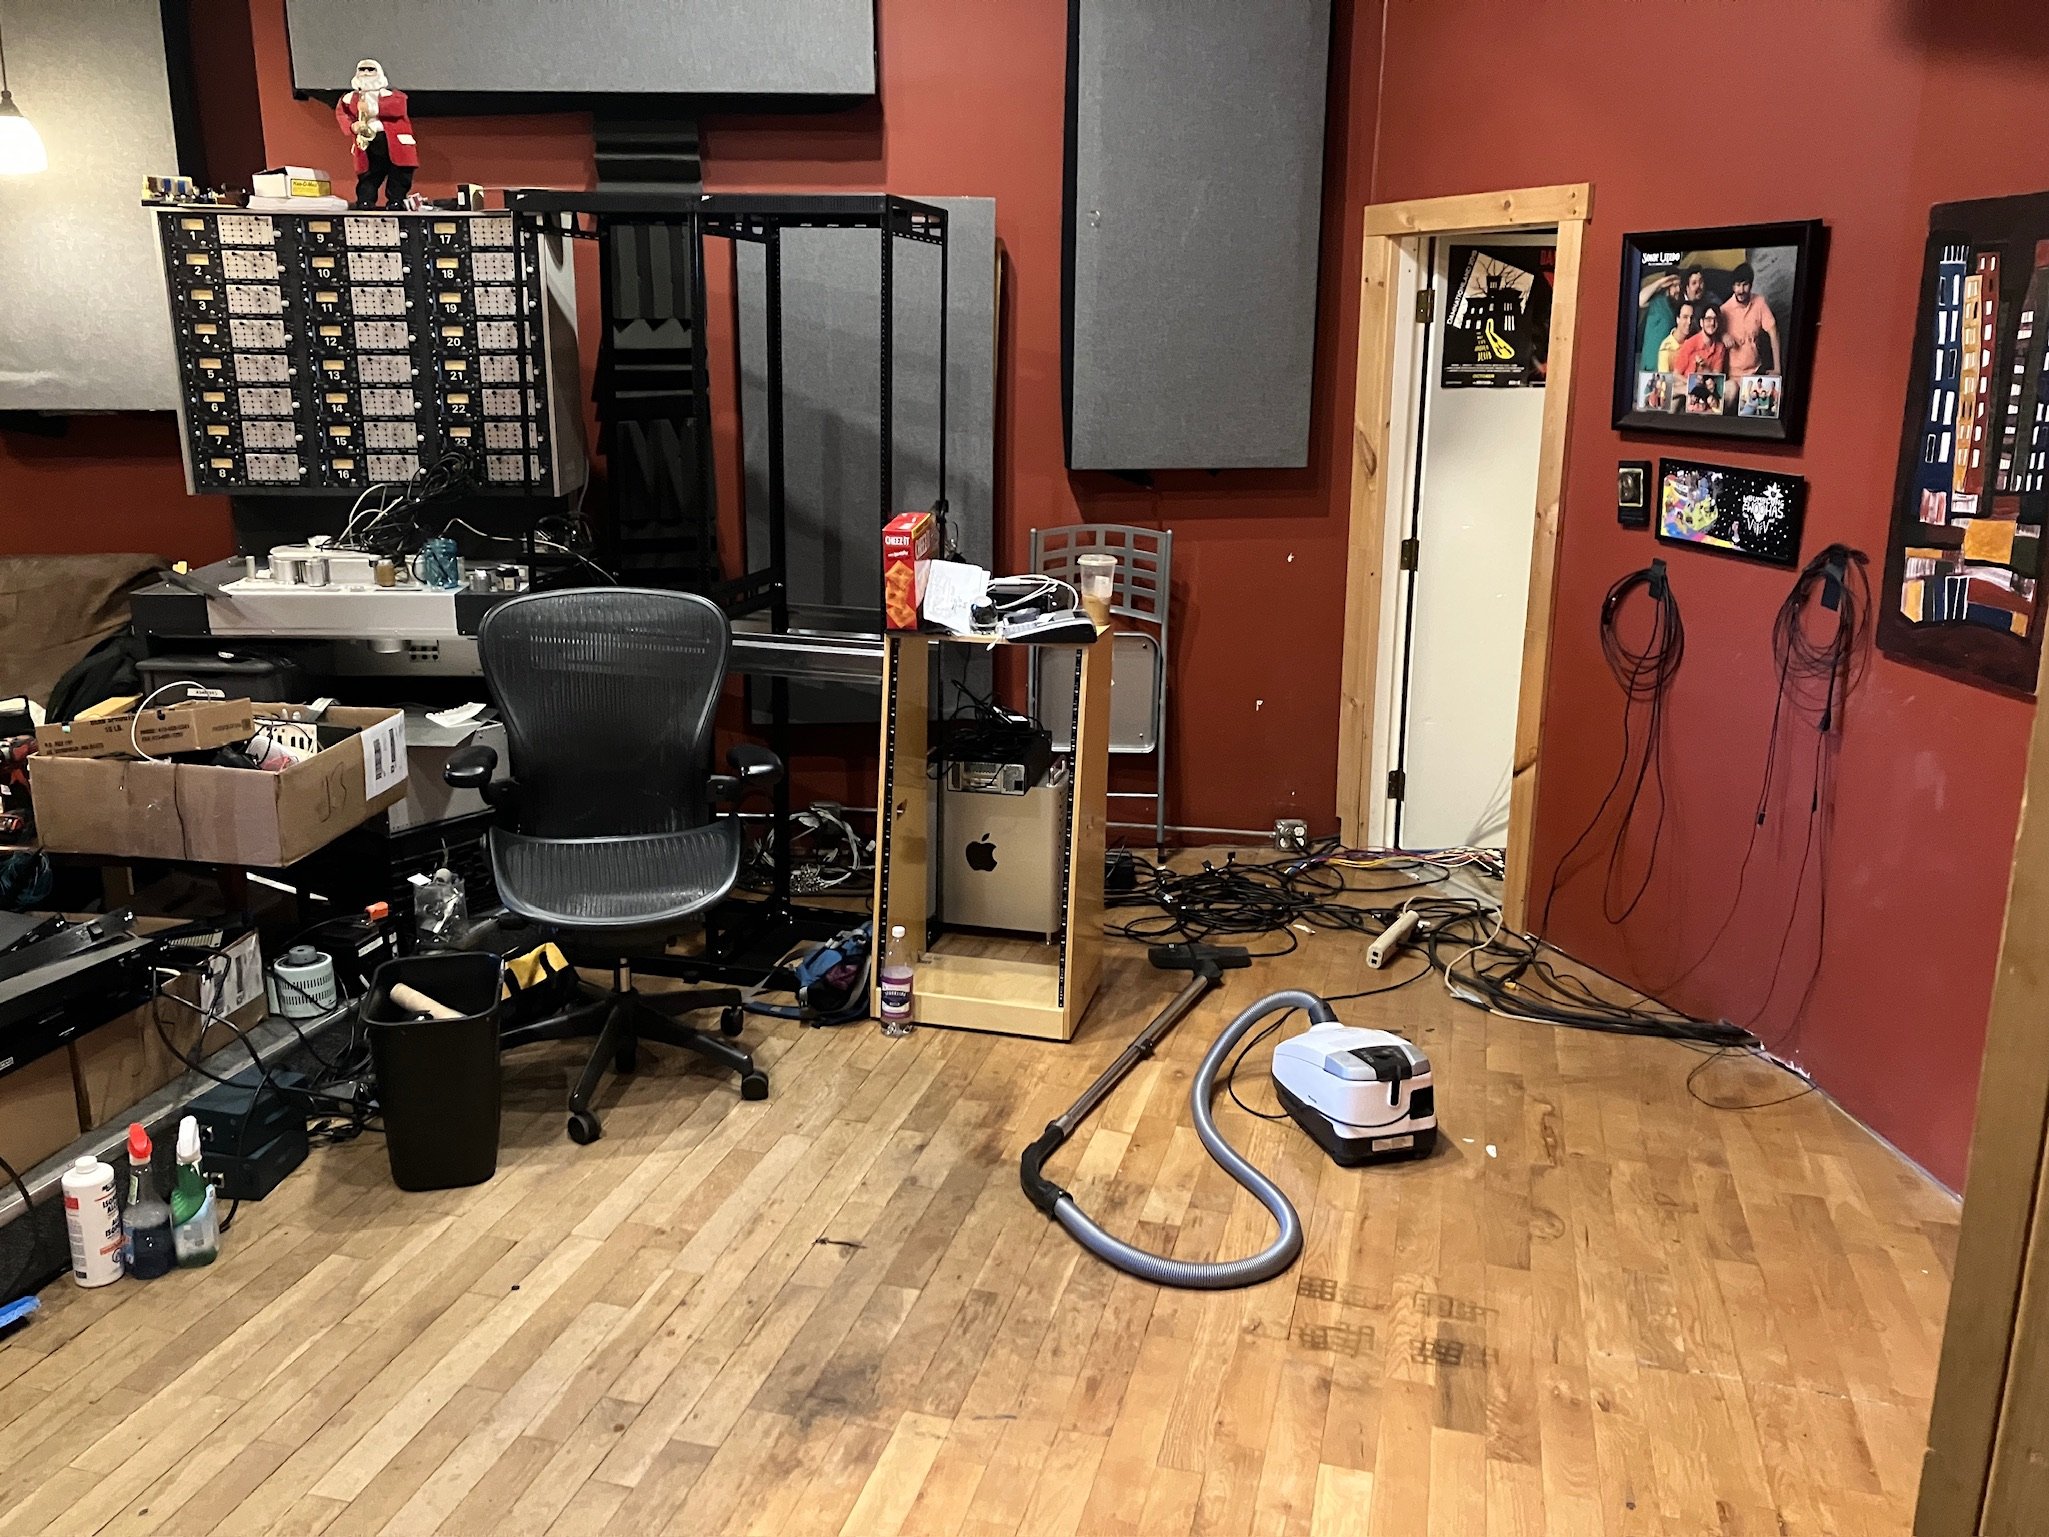
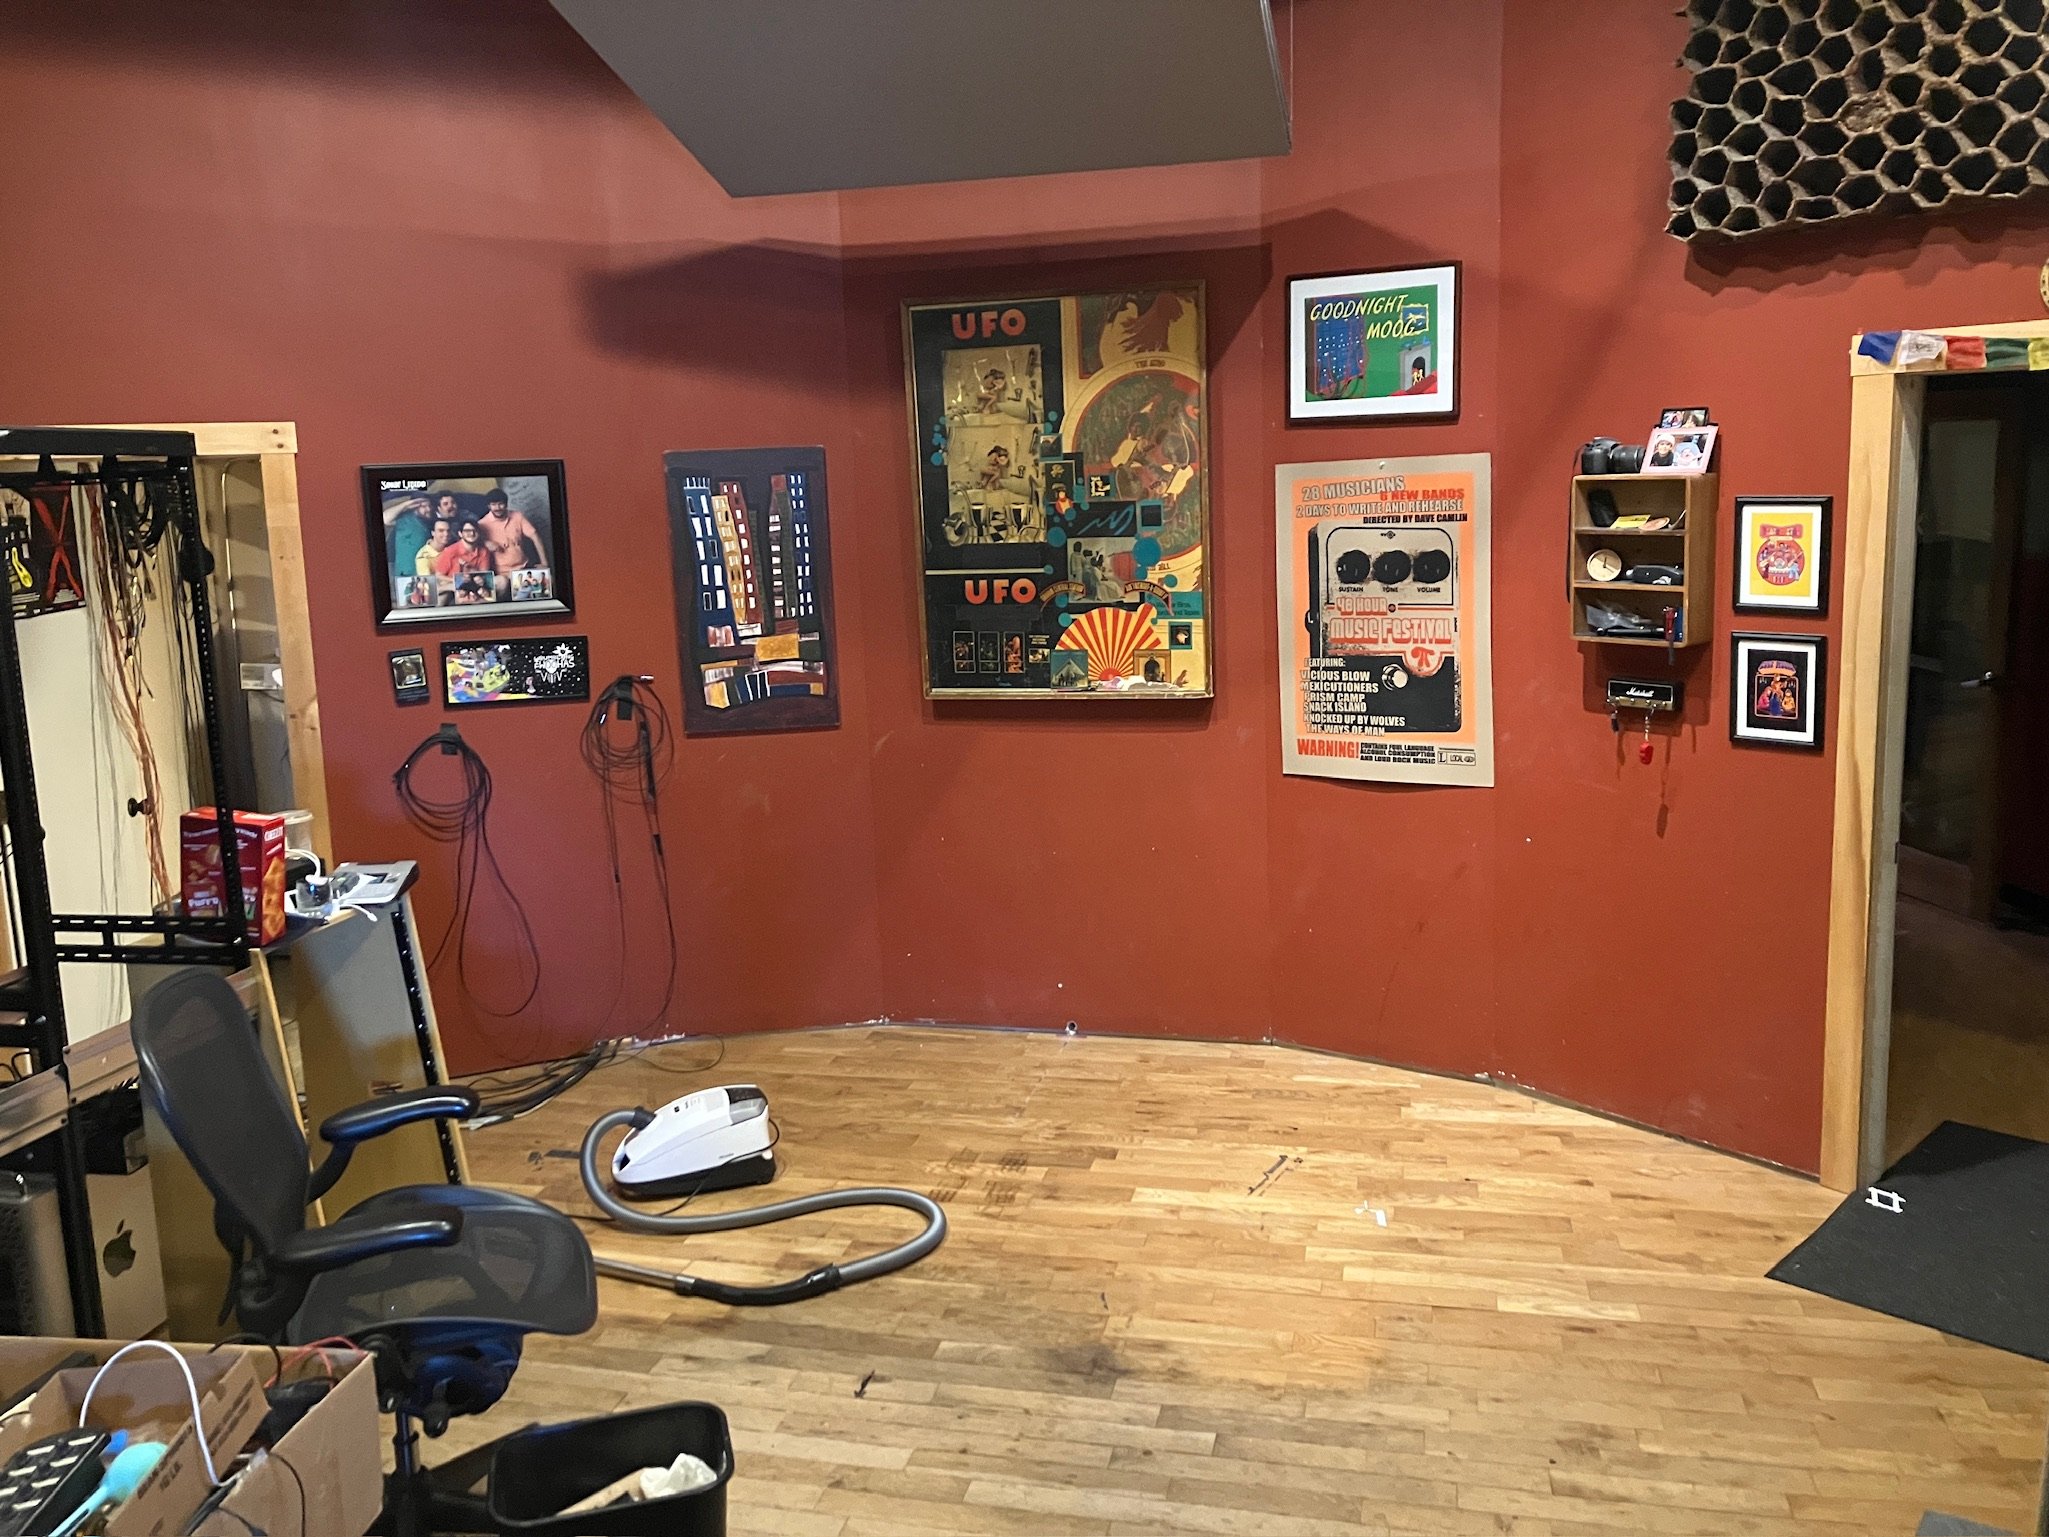
The next step was to remove all of our outboard gear and patchbays from the racks. We took the opportunity to clean all the units and record their serial numbers. Next was removing the console - our buyer would be picking it up in a few days. From prior experience we knew to carefully measure and mark speaker heights and distances ,so our mix position and imaging wouldn’t be radically different after the new board was in place. We then moved all the racks and the large wooden console desk out into the live room and were presented with a cleared out control room, something we hadn’t seen in some time! The SSL Origin Installation Guide had a detailed technical drawing of the desk (in millimeters) which made it easy extrapolate from our “mix position” listening sweet spot we had marked on the floor earlier, to where the feet of the console should be aligned to ensure the console was centered properly. We had created a scale model on the computer of the new layout for the racks, patchbays and the console itself - as well as the speaker and display stands so we knew it would all fit properly. We moved the the dual gear racks into position and bolted them together. It was very important to secure these HUGE 43 RU (over 7’ tall!!) equipment racks so there was no possibility of them ever moving or falling over. We drilled down through the multiple layers of wood flooring and used 12 massive 2” long bolt head screws to ensure these racks will not be going ANYWHERE. The 20 RU wooden patchbay rack was then bolted to the others and a quick check of the measuring tape confirmed that the console would butt up against the racks exactly as expected. Win! We installed a heavy-duty cable protector/walkway ramp with a top plate that was hinged with several large channels inside so we could freely run cabling through the wall into the computer room.
The Two Towers
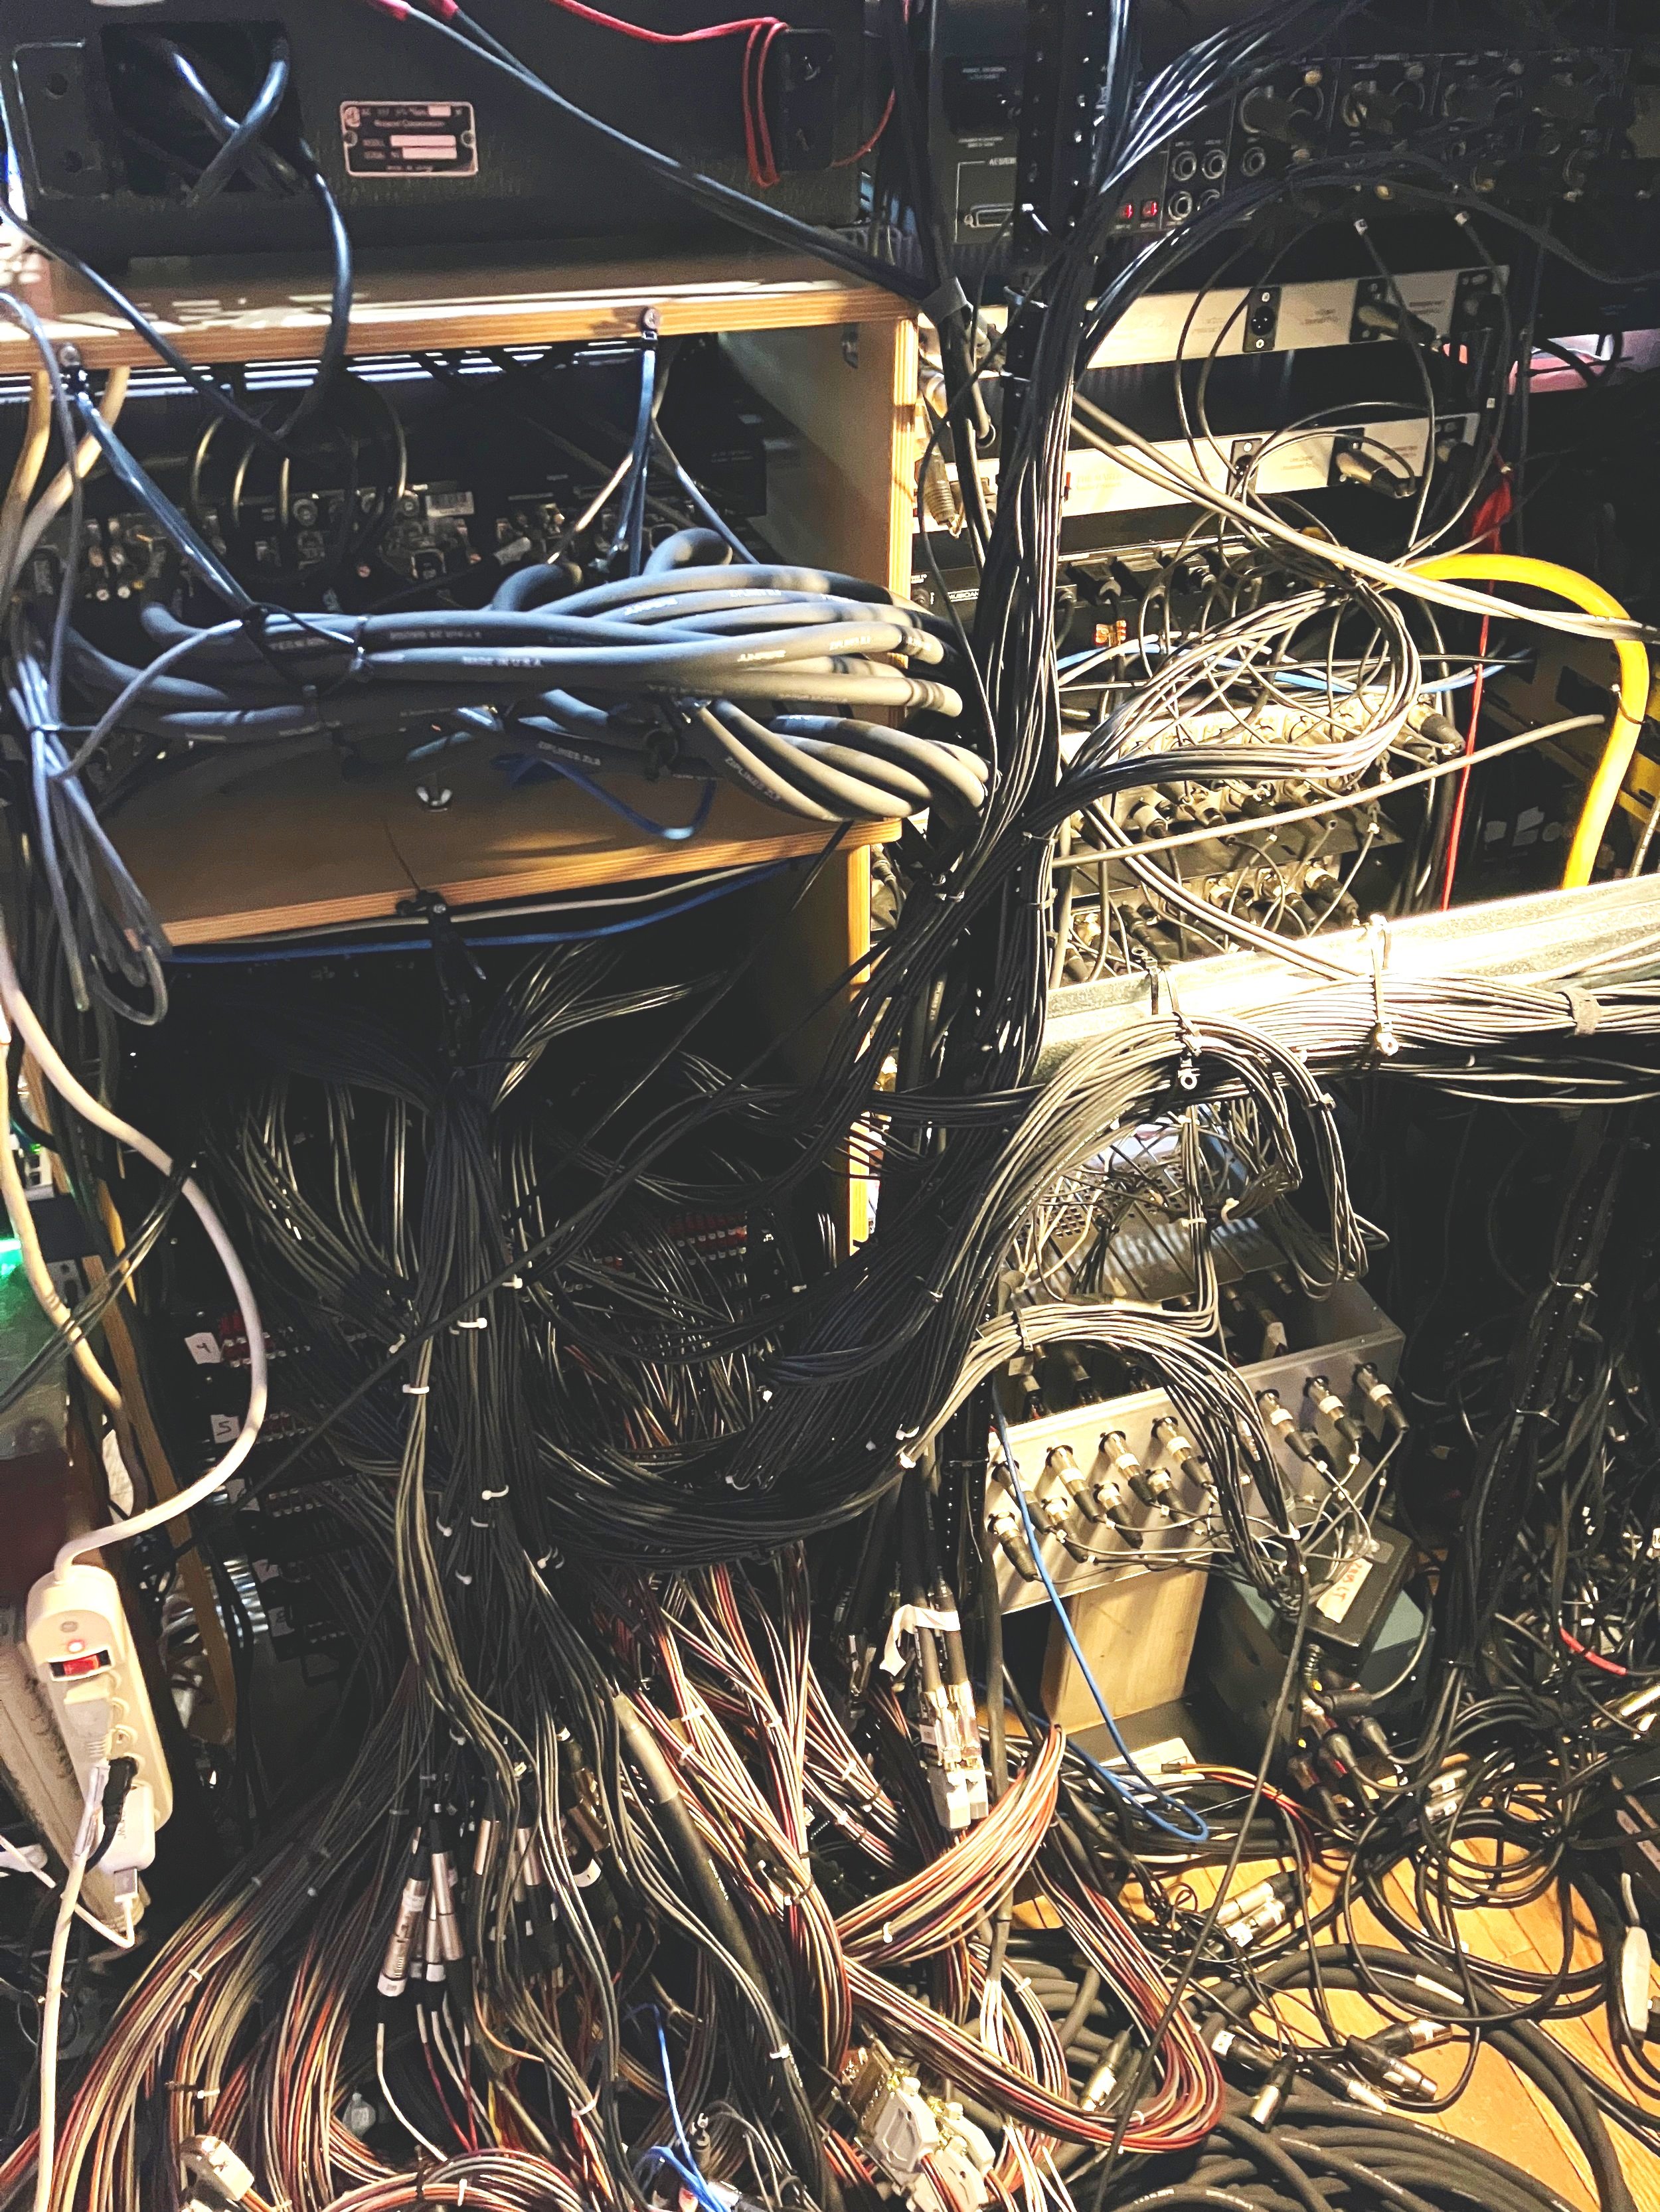
The next task was to install the outboard gear into the equipment racks. Yet another spreadsheet was employed to decide what gear would go in each rack, and in what order. One consideration was power distribution for the control room. We had two 15 amp circuits and two 20 amp circuits available - all connected to a massive battery backup unit. We separated all power related to the computer system from the audio gear and calculated the draw of every last item (amperage = watts ÷ voltage) with the hopes of having the total draw be 80% of each circuit’s amperage to allow for any spikes in draw. We employed a Furman MS-8 power sequencer in the top spot in each rack to connect to the 15 amp circuits. This allowed us to connect all the audio gear using the power control circuitry in the MS-8s to master switch (a key!) We then figured out how many additional Furman power conditioners we’d need to distribute power throughout the racks, each connected to its respective sequencer. This meant that we simply turn a key and all the gear in the studio powers up in sequence, with the very last item to power up being the speakers. Another turn of the key shut everything down in reverse, speakers first to avoid any pops etc.
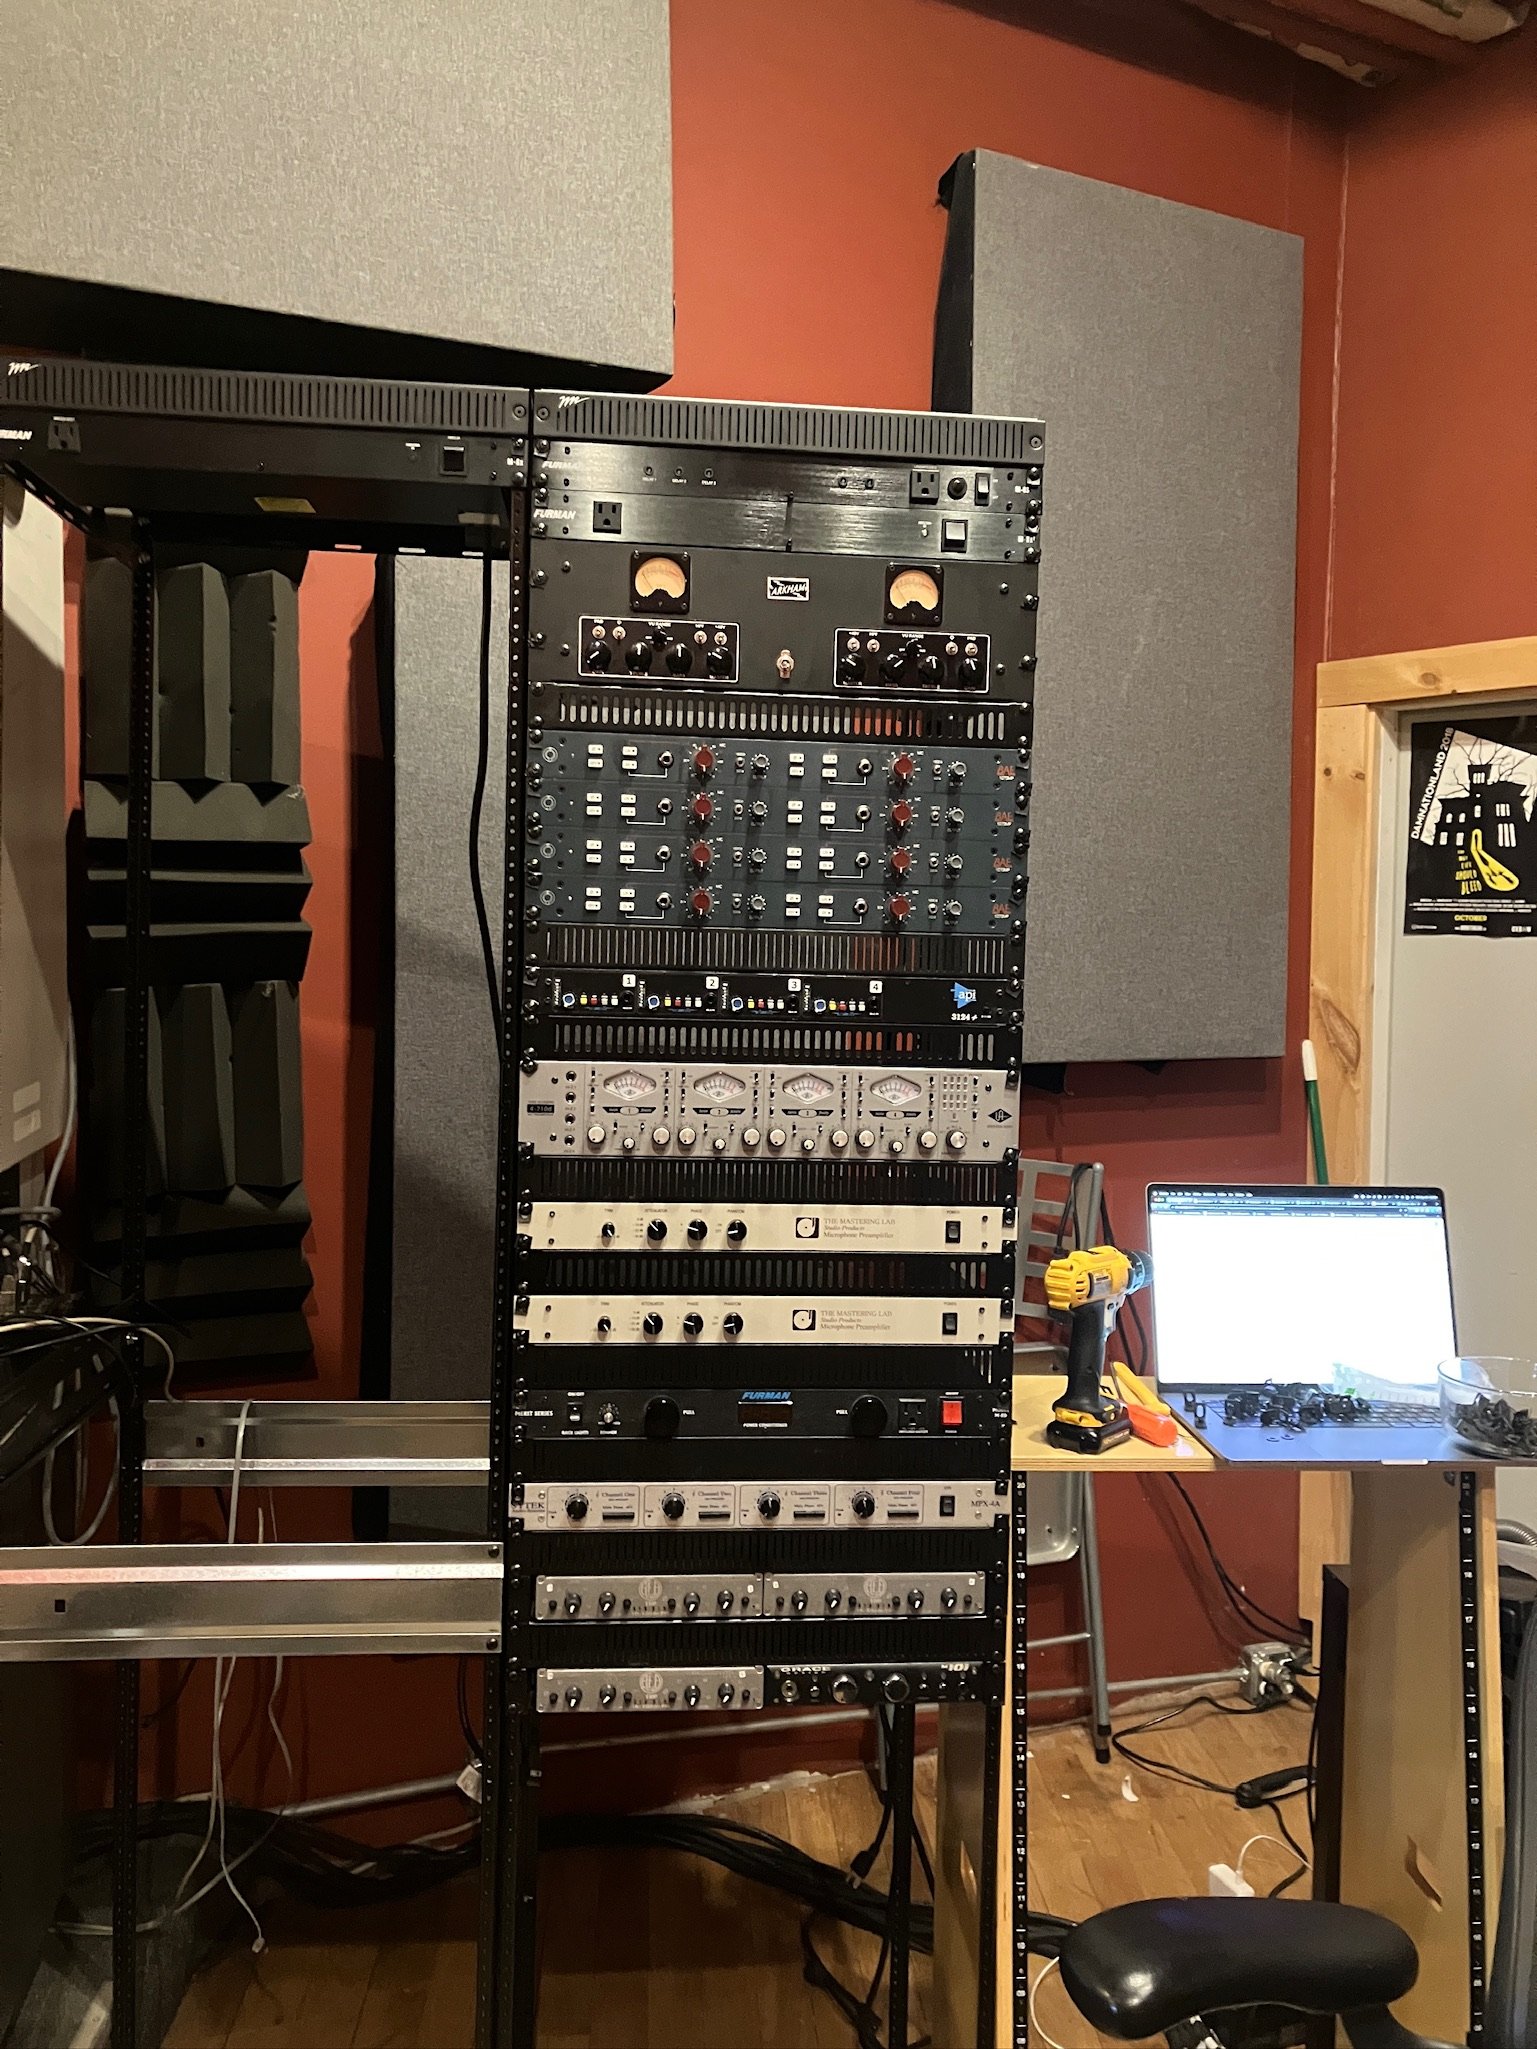
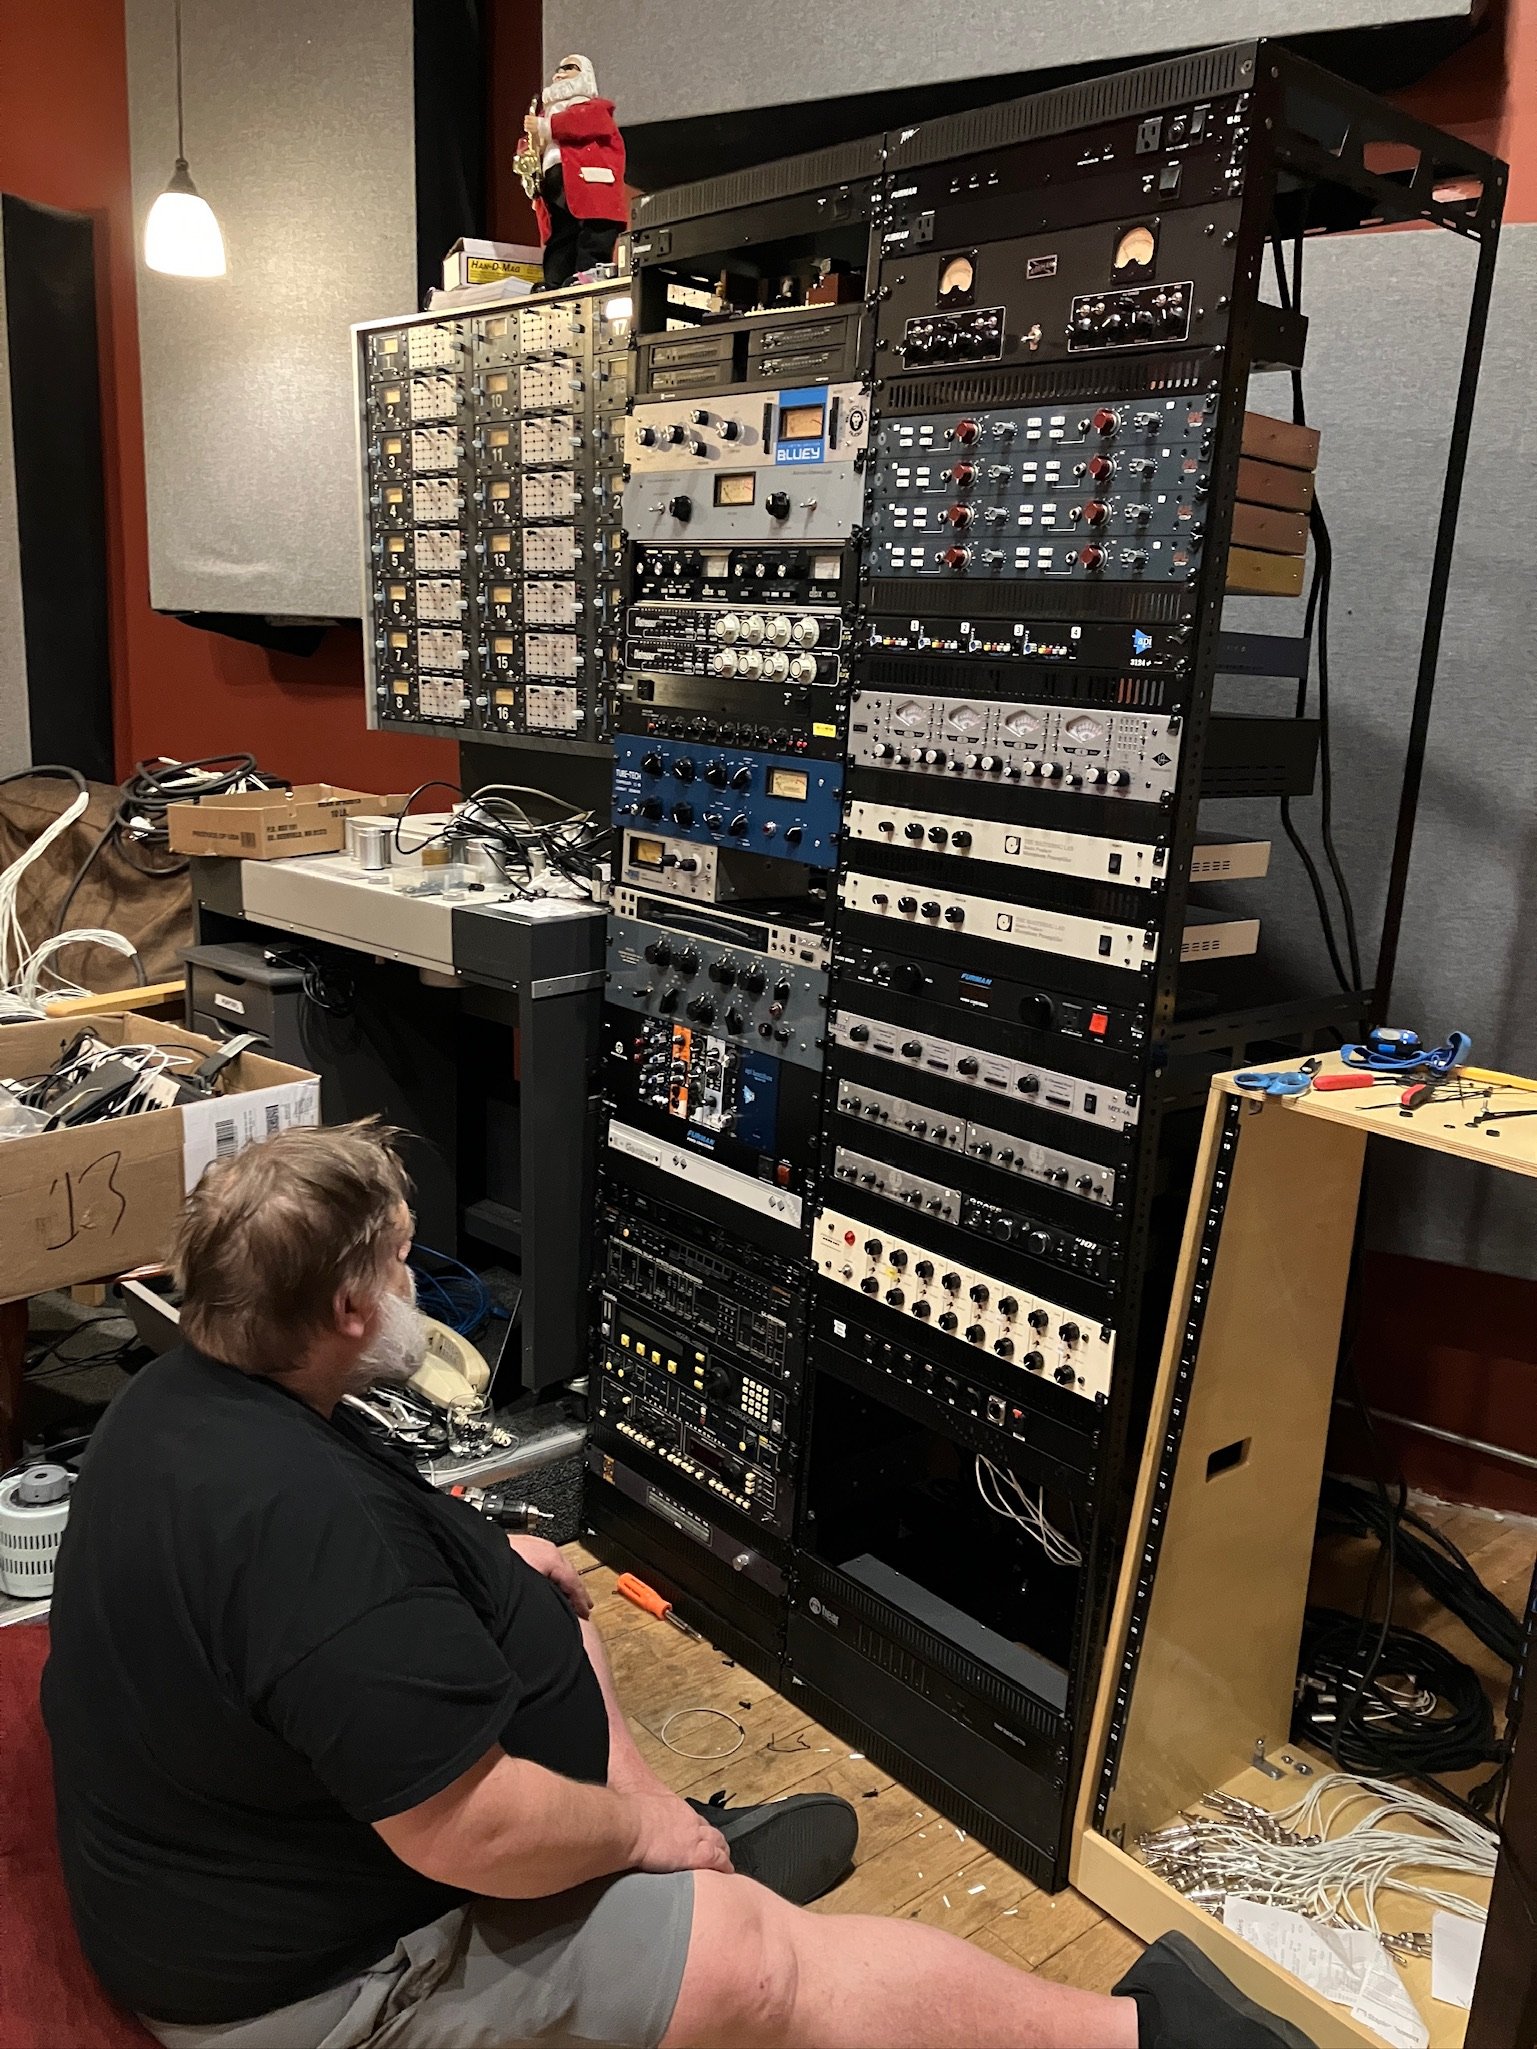
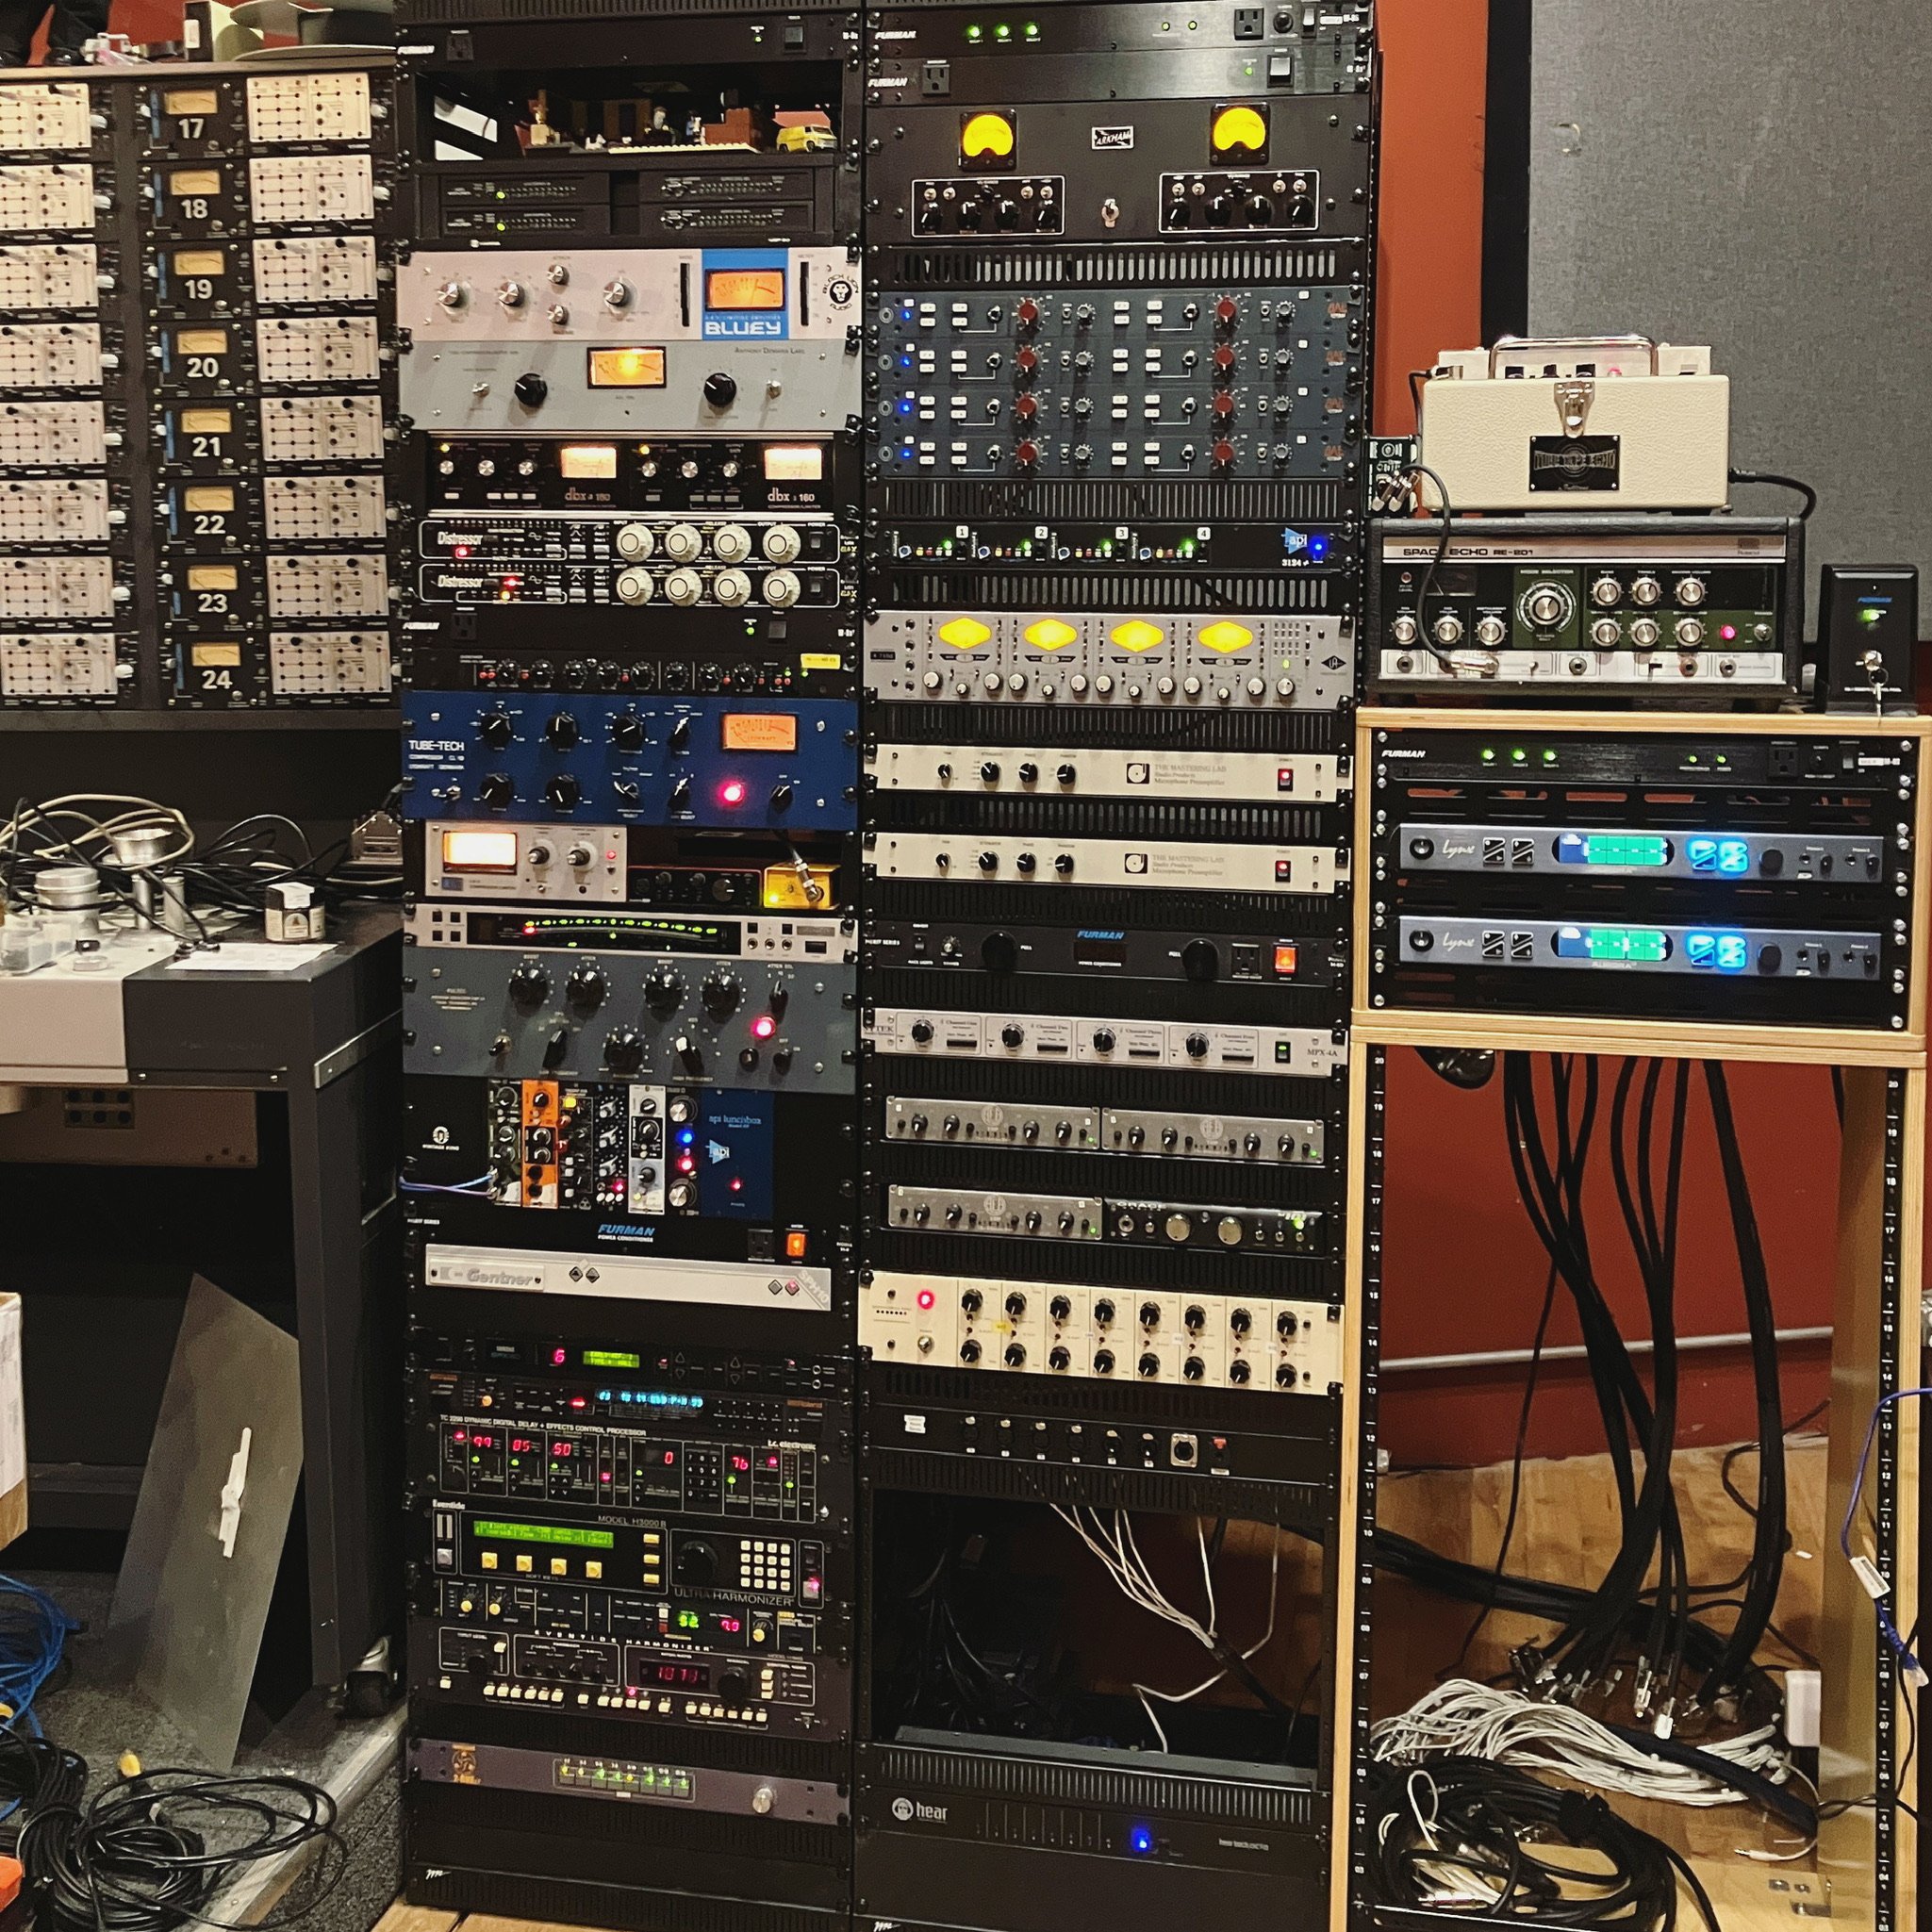
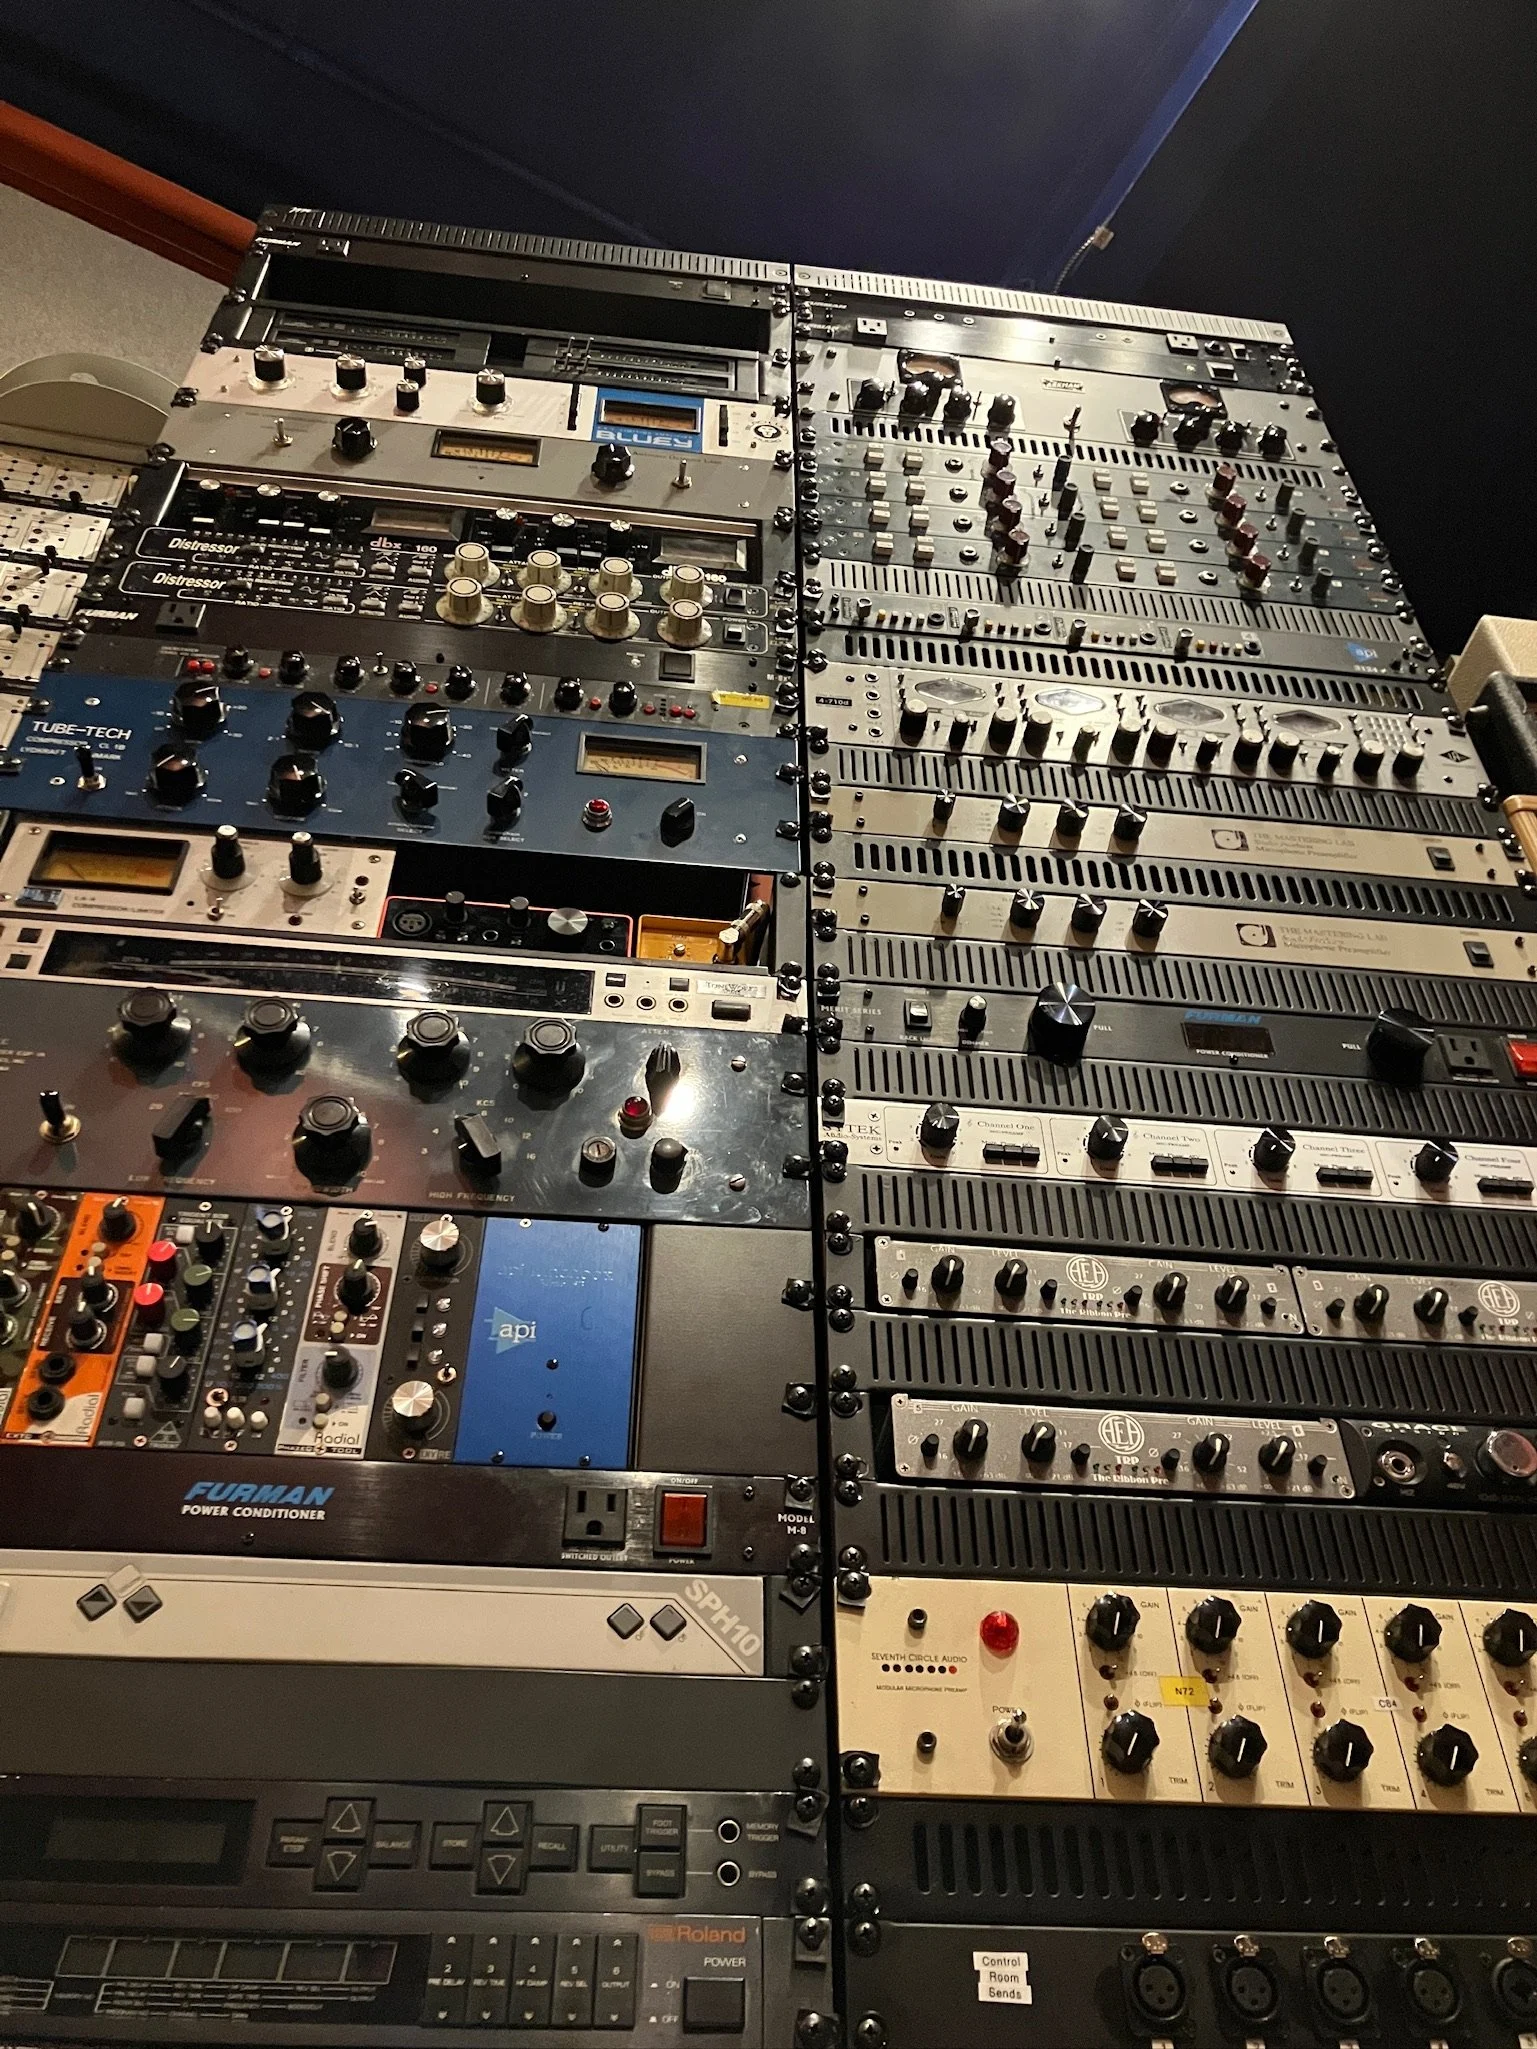
We had decided that we’d dedicate one rack to our collection of outboard preamps, each separated by a rack vent panel to allow ample airflow - many of our mic pres are of the tube variety and need plenty of cooling. It made sense to install them in alphabetical order for ease of locating them. The second rack contained all of our outboard compressors, followed by eq’s and 500-series goodies, then our collection of time-based effects. This was a daunting task which took WAY longer than anticipated. For example there were 344 rack screws to be installed in these two racks alone - one could possibly average 30 seconds per screw when you factor in lining up the unit with the rack holes, installing the Humfrees (plastic “spacers” that insulate the gear from the rack itself, to reduce the potential for ground loops) etc. That’s over two hours spent JUST INSTALLING SCREWS! We decided to organize the preamps and outboard in exactly the same way on the patchbay to make it easy to find a specific piece of gear in a wall of options.
All racked up
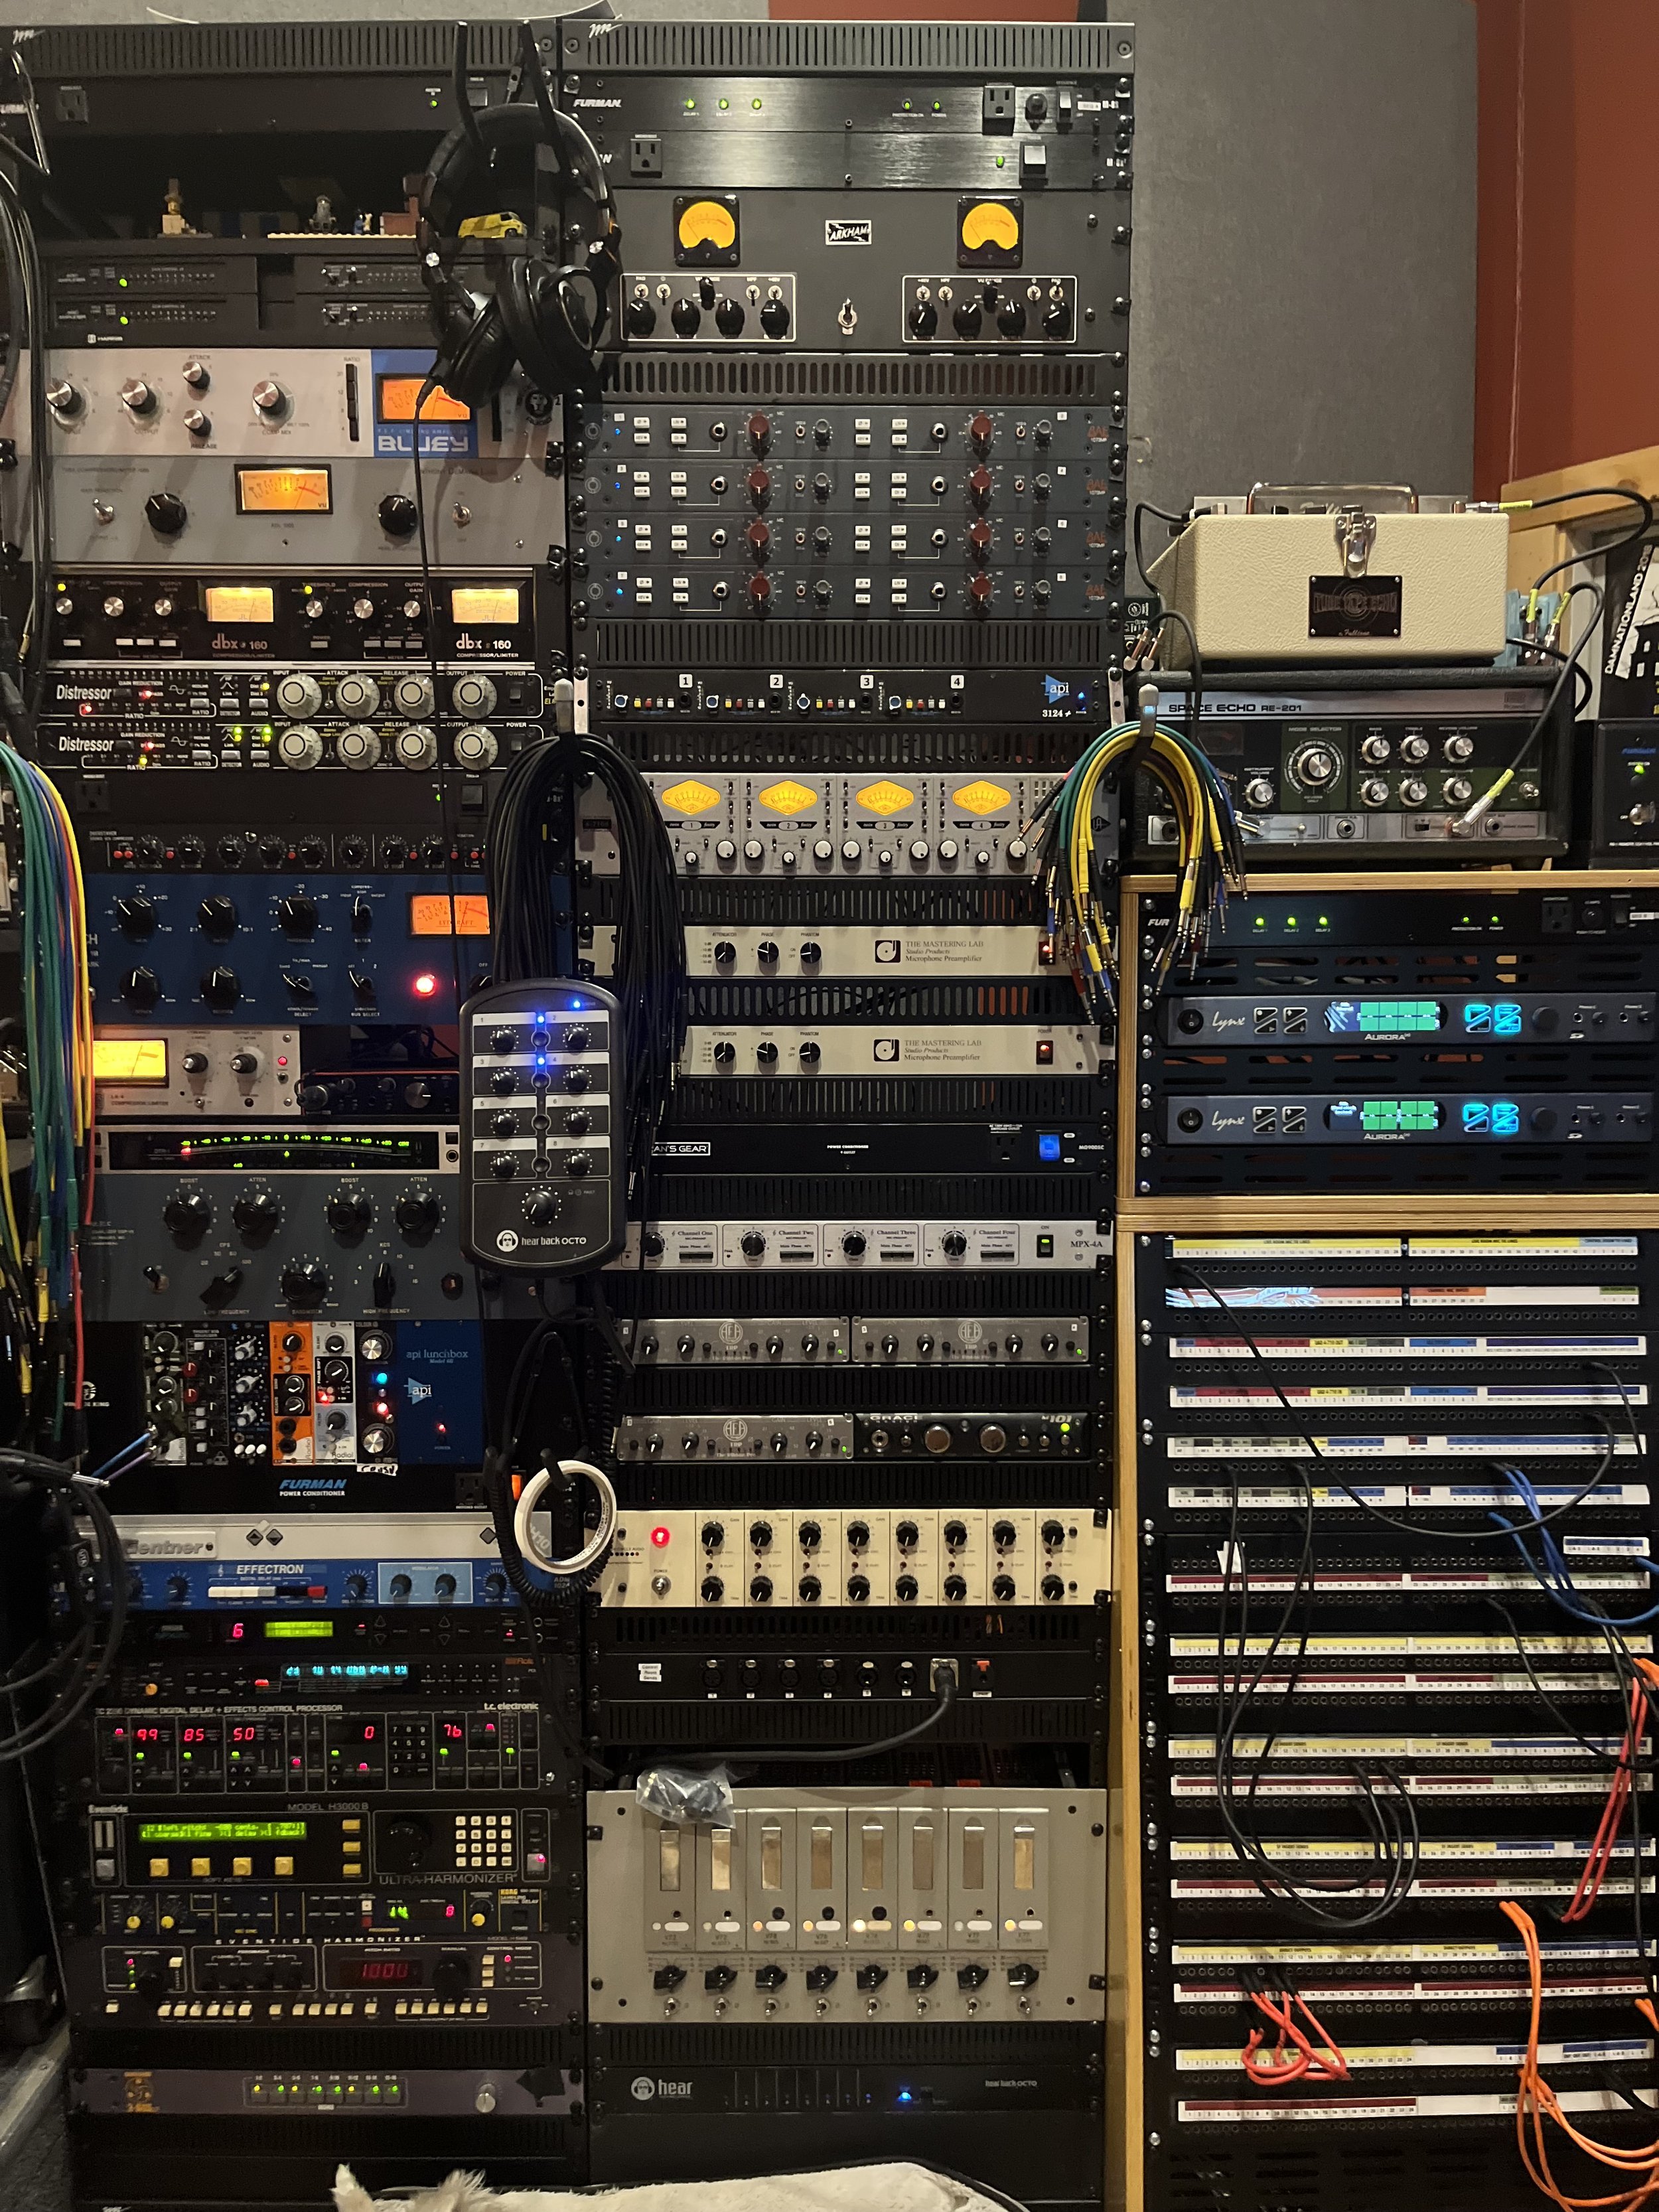
We replaced all the IEC power cables with custom length replacements to keep the power runs to the Furman power conditioners as clean as possible, in an effort to generally run the power away from the audio snakes. By having a stock of one, two and three foot IEC’s and a LOT of plastic cable ties we were able to keep thing fairly tidy thus far. Next came the converters in a smaller wooden rack, again one side was bolted to one of the main racks and we also bolted it to the 20 RU rack for the patchbays that it was resting on top of. With this step complete it was finally time for the main event!
Day Zero
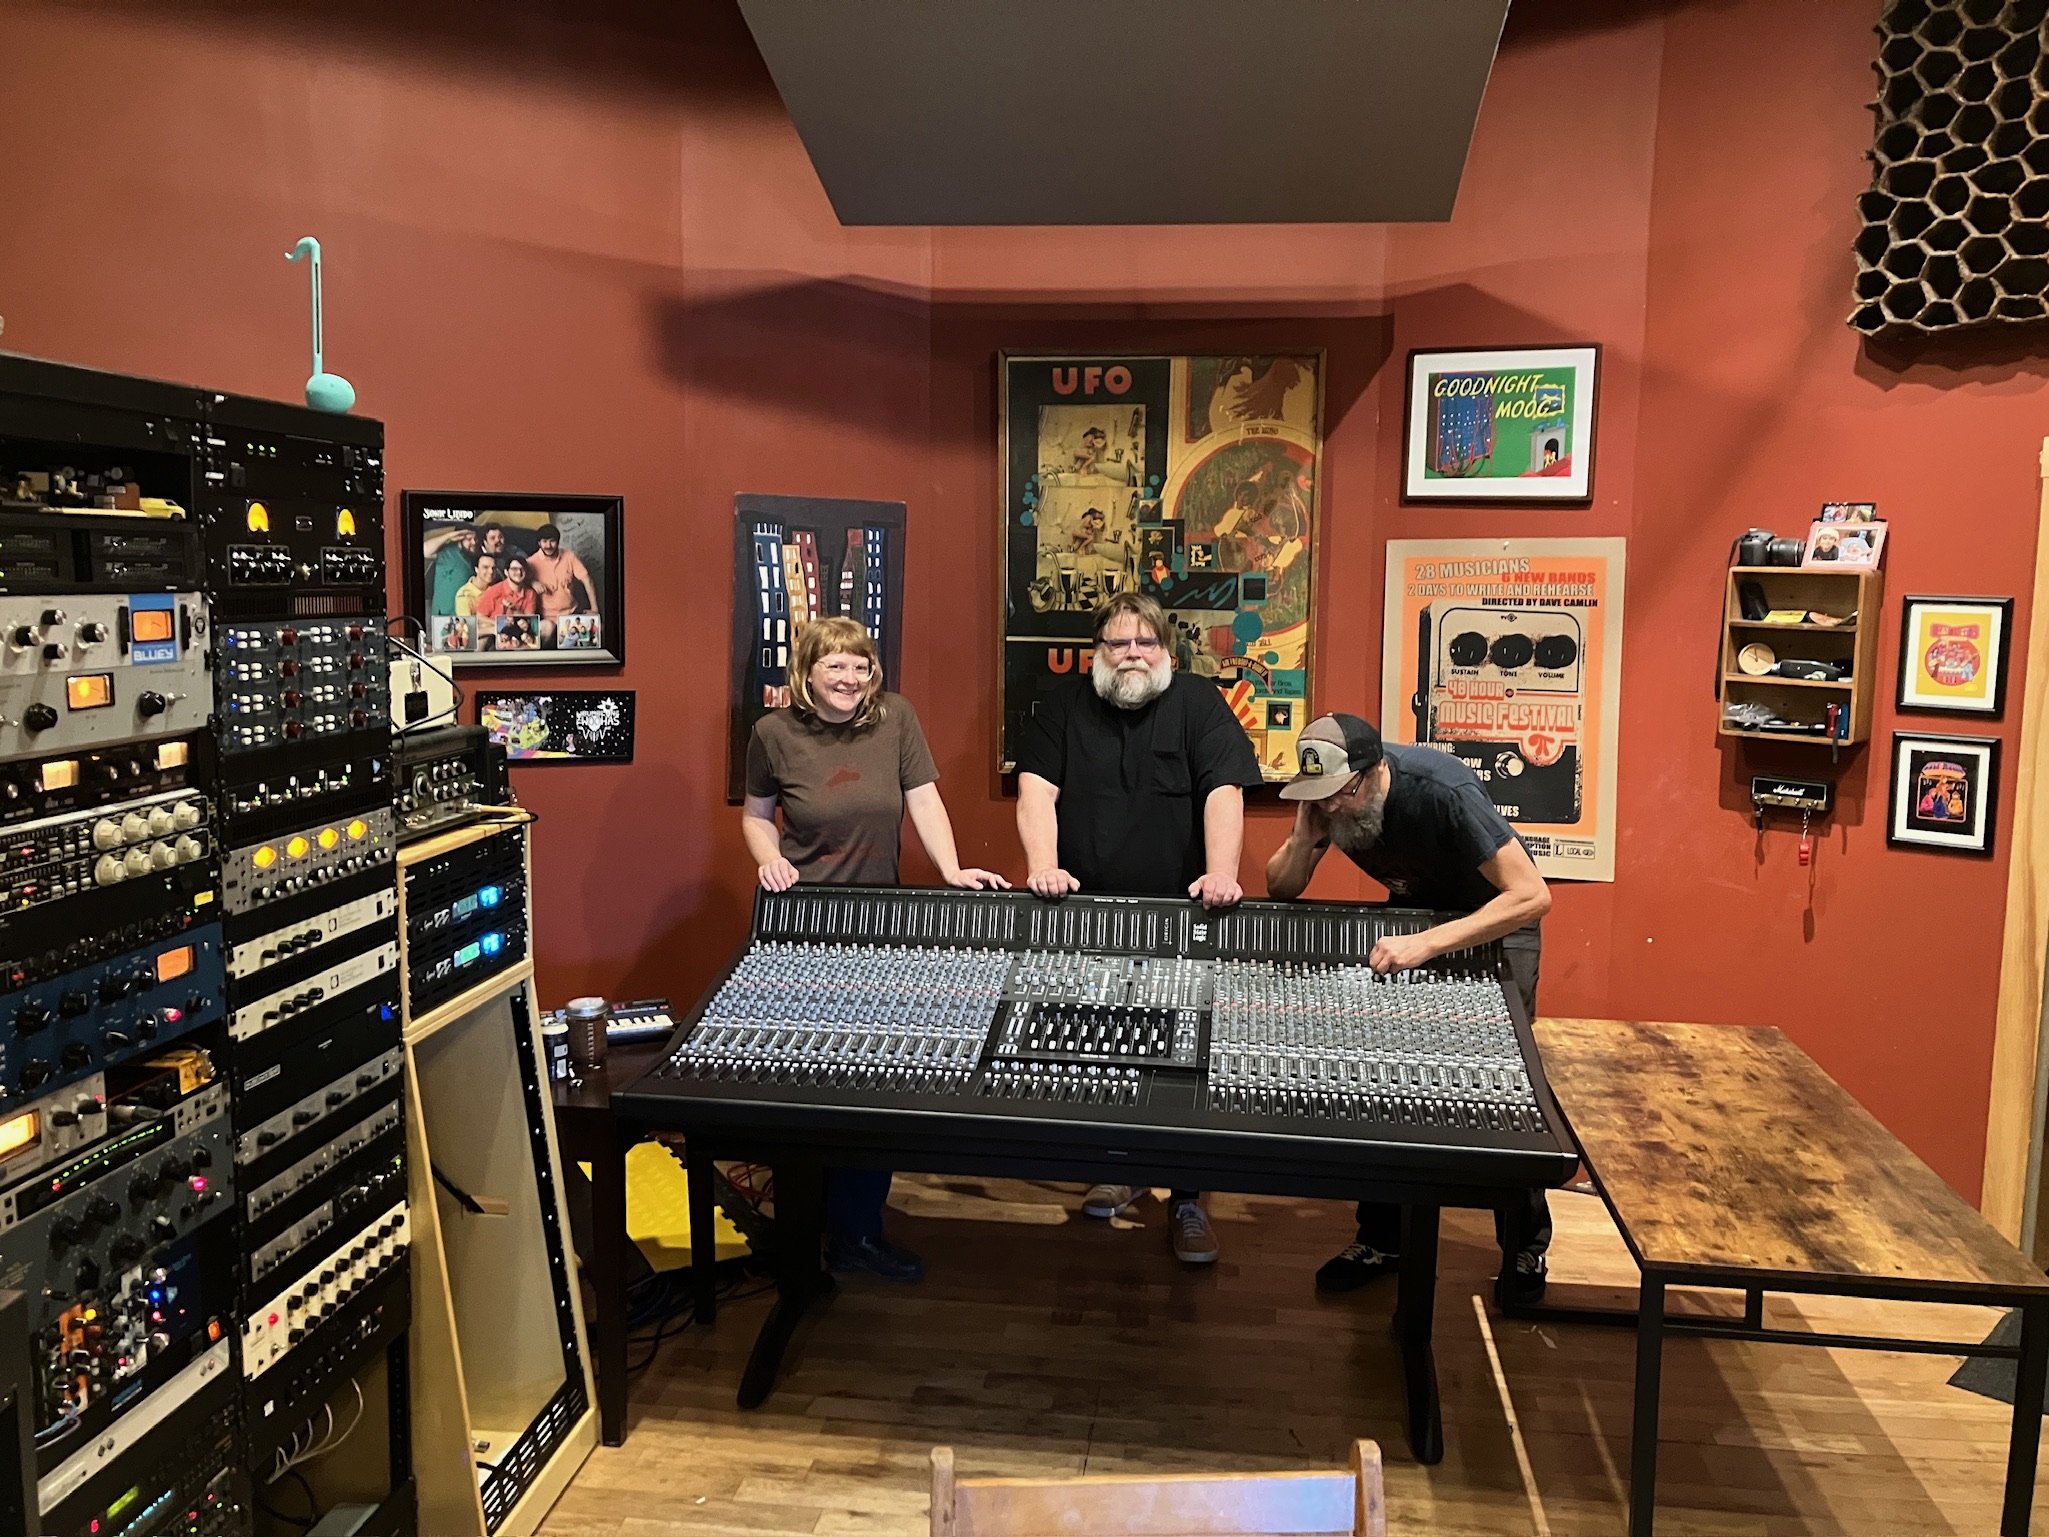
After three intense days of preparation, it was finally time to move the board into position. We had assembled a solid crew for the move: Acadia regulars Drew Wyman, Stanley Beck, and Neil Tyson volunteered to assist us with the heavy lifting and soon the console was in the air and slowly moving toward its final destination. After navigating one particularly tight corner, we had one last step down to the wooden floor where the entire team and the console wobbled frighteningly for just a second but moments later the console was safely on its feet.
And Now The Fun Begins
After several 18-20 hour days or preparation, we were finally ready to begin what would be a very long and challenging process of connecting all of the components together. Our strategy was to start by populating the patchbay with the bottom unit, building from there until all nine patchbays were installed. Each patchbay has an row of 48 outputs and a bottom row of 48 inputs for a total of 864 connections total. Each bay was outfitted with custom length cables and pre-specified connectors for every last connection, for example the bottom bay had 48 female 1/4” TRS jacks to connect our Studer A80 24-track tape machine, plus a few female DB25 connectors for some of the SSL’s center section connections. As previously mentioned, the SSL had a total of 46 such DB25 connectors - we used high quality JUMPERZ brand DB25 snakes with compact, high quality metal connectors that allowed us to install the rows and rows of heavy cabling and still manage to get our fingers in there to tighten the screws. We used a combination of 15 and 20 foot snakes depending on which side of the console they were headed so the ends all more or less reached the same spot behind the patchbay rack. Theoretically, these could have connected directly to the rear of a patchbay outfitted with DB25 connectors and NO cabling, but for future layouts and general ease of connection we purposely had extra cable length added to the patchbay leads allowing us to keep it “loosely” organized. We simply started from the bottom and slowly connected each snake from the console to the patchbay and eventually we had installed the bottom five bays - next was to run several 8 and 16 channel XLR snakes to the ins and outs of all the outboard gear. We used dozens of cable ties to support the massive weight of the cabling.

Wrapping It Up
The final steps involved placement of the incredibly well built (and expensive) Sound Anchors speaker stands and a custom designed stand for the computer monitor, modified so the screen would sit just above the SSL’s meter bridge. After a bunch of rearranging, we found a configuration that worked. We installed our ADAM A77X monitors and got them aimed properly and it was finally time to run some audio through the console and moments later the meters were moving and sound filled the room. Whew!

Engineer Alice Anderson at work on the SSL
Final Touches
We implemented several upgrades to make our day-to-day work easier and more convenient for our clients. A set of mic/line inputs were installed in the preamp rack - we often record acoustic guitars, scratch vocals, or synths in the control room. We also added a rack-mount tuner connected to a Radial SGI, allowing us to let someone play electric guitar/bass in the control room and send their signal out to an amp mic’d up the live room. We also installed a speaker jack so we can have amp heads in the control room and the cabinet in the live room. A duplicate setup of SGI/speaker sends were installed in the top of the desk on the right side of the console allowing two sets of instrument/speaker signals to be sent at the same time.
The console has a sophisticated talkback and listen mic system - we installed omni mics in the live room and in each isolation booth, all connected to a small mixer in the control room so we can clearly communicate with the musicians and they can hear each other talking between takes, even if they are in isolation. Like many aspects of the console, there are MANY ways to route the signals and it took a while to figure out the most elegant solutions.
Learning Curves
After an afternoon of testing we were ready for our first session with the console, eight days after we began tearing down the old setup. The first session had some moments of head scratching as we figured out the best workflow for our setup, we had never worked on a dual inline console before but we made it through unscathed. We later learned that there were a few miswired DB25 snakes in the patchbay that were causing some VERY confusing results - but they have all been replaced and we have been enjoying trouble-free operation for many weeks now. The sheer number of options is overwhelming and we have developed some elegant solutions for what previously were very complicated situations. Having a remote producer patched in while tracking a voice actor in the booth and having everyone hear each other with no delay was a complex setup but with the sophisticated cue/foldback systems in the console’s center section it was a breeze. The console features two stereo cue sends and four mono aux sends, which pairs perfectly with our Hearback OCTO headphone distribution system. It’s easy to add external sources (like the output of Protools while overdubbing) to any of the sends while independently monitoring a different set of sources on the speakers.

Engineer Jason Phelps mixing on the Origin
The Sound
Simply put, this thing sounds INCREDIBLE! The internal SSL SuperAnalogue PureDrive preamps are remarkably clean and quickly have become our preamp of choice for electric guitars, and engaging the drive circuit adds very musical saturation. We immediately felt the benefits of the comprehensive metering and the flexibility inherent in a in-line console. Gain staging was simplified, not to mention the pure joy of having such musical and powerful eq on every channel. It’s hard to describe but by monitoring on the large faders, you are in effect mixing from the get go and by time the tracking is done the rough mix often “sounds like a record.” We have an Echoplate II plate reverb unit and it sounds three dimensional now. And of course, the classic SSL G-Comp bus compressor sits proudly in the center section. Another thing we’re noticing is we are using significantly fewer plugins at mix time, we no longer feel like were needing to overcome the sonic limitations of our previous console (something we had perfected). Overall, the SSL helps to clearly represent whatever you are adding to the sound but nothing more.
Extremely Grateful
We cannot thank our wonderful recording artists enough, who have grown with us over the years, helping us all get to the point where we can share this level of technology and quality of sound with the first Solid State Logic console in the state. We invite you to come hear it for yourself!
Special thanks to Josh at Little Fish Audio, Terry Peters at Forest Hill Studios, Andy Rice at Sweetwater, Stanley Beck, Drew Wyman, Will Moffat and Scott Conley for their help in making our dream a reality!